
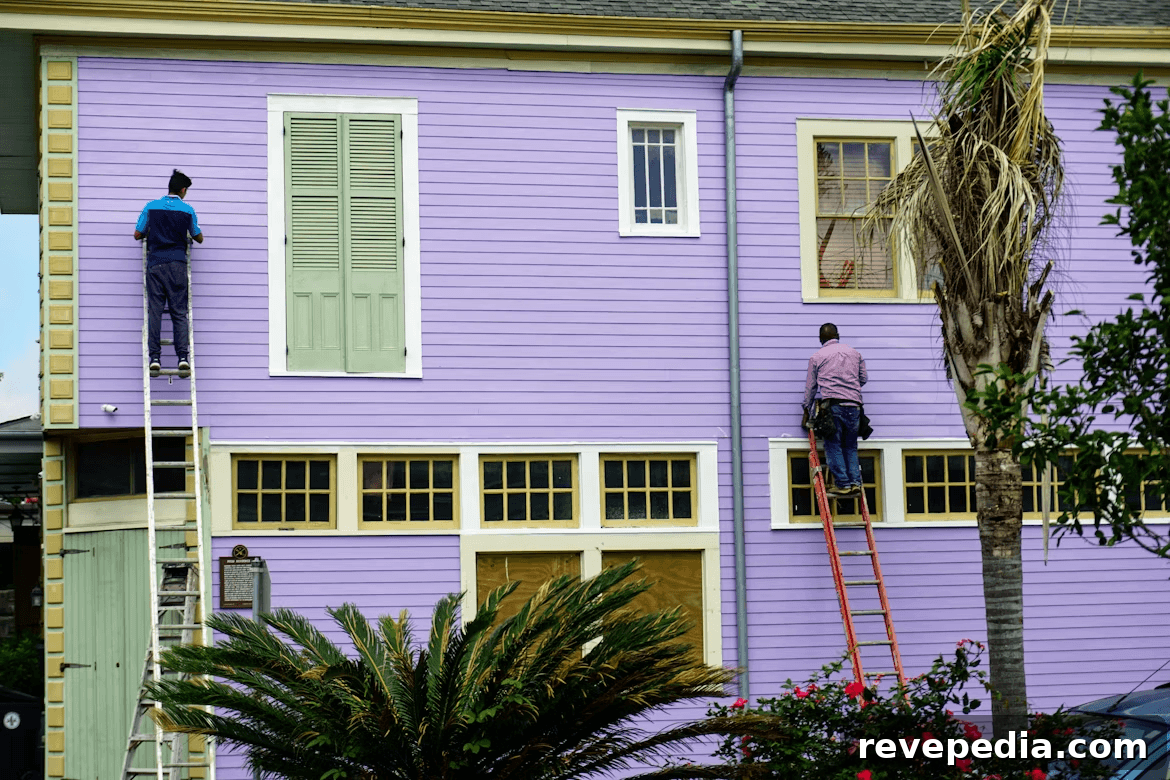
In desert climates, paint doesn’t just fade — it degrades from heat and sun. On a July afternoon in St. George, Utah, a south-facing wall can reach surface temperatures near 160°F even when the air temperature reads 108°F. That surface heat, not the air, is what destroys coatings. Homeowners often blame the paint or the prep, but the root cause is how heat, UV, and timing interact. Before you buy another gallon, understand the real drivers of exterior paint failure in intense sun and how to plan a repaint that lasts.
Good news: you don’t need a crew or expensive equipment to get a durable exterior finish. What matters is threefold: surface temperature at the time of application, proper timing of each coat, and choosing paint formulated specifically for high UV exposure. Get those right and a DIY repaint can outlast the prior job by several years.
Why Desert Heat Breaks Down Paint Faster Than You Think
Ultraviolet radiation gradually breaks chemical bonds in paint binders — that’s the fading you see. Heat, however, causes paint and the underlying substrate to expand and contract at different rates. Over thousands of thermal cycles this creates micro-cracks. When monsoon rains arrive, water gets into those cracks and peeling follows.
Surface temperatures in direct sun commonly run 40–50°F hotter than ambient air. Many paints are formulated to cure correctly only up to surface temperatures around 90–95°F. Above that, solvents flash off too quickly and binders can’t level into a strong film. The coating may look fine for a few months, then chalk, fade, and flake prematurely.
Enclosed, unventilated spaces can get much hotter than the air—attics can hit 150°F or more—so exterior walls under direct sun face similar radiative heat. The practical takeaway: the conditions when you apply paint matter more than the brand name on the can. A mid-range paint applied under cool surface conditions will outperform a premium paint applied to an overheated wall.
Choose Paint Formulated for UV and Heat
Labels that say “exterior” tell you little. In high-sun regions look for technical properties that improve long-term performance:
- 100% acrylic resin. Pure acrylic retains flexibility and UV stability better than vinyl-acrylic blends.
- Flat or satin sheens. Satin hides imperfections and resists visible chalking better than high gloss on large walls.
- High titanium dioxide content. More TiO2 improves UV reflectance and pigment durability.
- Low-VOC formulas. They dry a bit slower, allowing better film formation in heat.
Spend more on a paint that lists these attributes. Labor and prep are the bulk of the expense, so skimping on the coating is usually a false economy. Ignore marketing claims like “lifetime” unless the technical data and application conditions support them; warranties often assume professional prep and documented conditions.
Time Painting Around Your House’s Shadow Pattern
A key strategy for longevity is following your house’s shadow pattern: paint shaded elevations first and move as shade shifts. In summer the south wall is hottest roughly 10 a.m.–2 p.m., followed by the west wall in late afternoon. Paint east walls at dawn, north walls mid-morning, and reserve the west for cooler late-afternoon windows or overcast days.
Many DIYers start on a convenient side and work straight through, which leaves parts of the house painted on dangerously hot surfaces. Map the shade first and plan short, focused sessions. Also check the weather: if rain is likely within 24 hours, postpone. Paint exposed to rain before it cures will fail quickly.
Surface Prep: The Foundation of a Good Job
Prep matters even more in desert conditions. Focus on three tasks:
1. Remove chalk and dirt. The dusty white powder on old paint is degraded binder. Clean thoroughly with a pressure washer on a low setting or scrub with a stiff brush and a suitable cleaner. If your palm rubs white after touching the wall, keep washing.
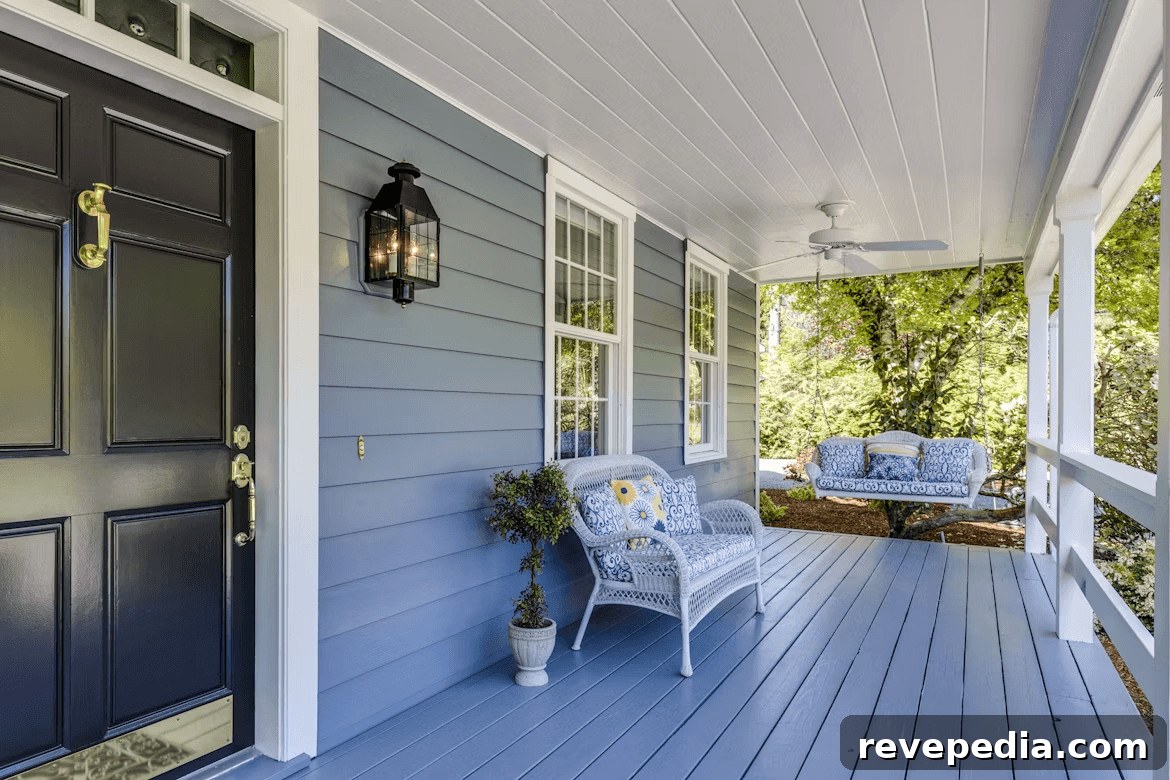
2. Patch with compatible materials. Use elastomeric patch for stucco, exterior-grade wood filler for trim, and masonry products for brick or stone. The wrong patch will crack quickly and take paint with it.
3. Prime bare areas. Primer is non-negotiable on scraped-to-bare substrate. It seals, provides a proper bond, and prevents tannin bleed from wood. Also check for lead paint on homes built before 1978 and follow appropriate testing and safety procedures before scraping.
A Practical Weekend Schedule
For a single-story, 2,000 sq ft house a competent DIYer can expect about three days of work spread over a week or two. A recommended sequence:
- Day one (morning): Pressure wash, scrape loose paint, check for lead, and fill cracks. Allow to dry overnight.
- Day two (dawn–noon): Paint east and north walls while shaded. Stop before the sun hits surfaces.
- Day three (early morning and late afternoon): Paint the south elevation early, then the west in late afternoon when shade returns.
Spacing the work lets you apply paint under safe surface temperatures and improves film formation, resulting in a more durable, uniform finish even if it takes a bit longer.
When to Hire Professionals
DIY makes sense for single-story houses with manageable heights and time to chase shade. For two-story homes, steep roofs, or commercial façades, hire pros. Height increases safety risks and can compromise application quality when working from ladders. Professional crews use sprayers and back-rolling to achieve consistent coverage and understand local climate challenges. If you hire a contractor, ask what surface temperature they refuse to paint above, how they handle sudden weather changes, and to show recent similar jobs. Clear answers indicate experience with heat-sensitive applications.
The Bottom Line
The real enemy of a durable exterior finish isn’t the can of paint — it’s applying paint without respect for the physics of heat, UV, and curing. Paint that dries too fast or is applied to a flexing, hot surface will fail no matter how many coats you use. Respect surface temperature, plan around shade, prep thoroughly, and choose coatings designed for intense sun. Do that, and your next repaint will not only look good when you finish but still look good five years down the road.