
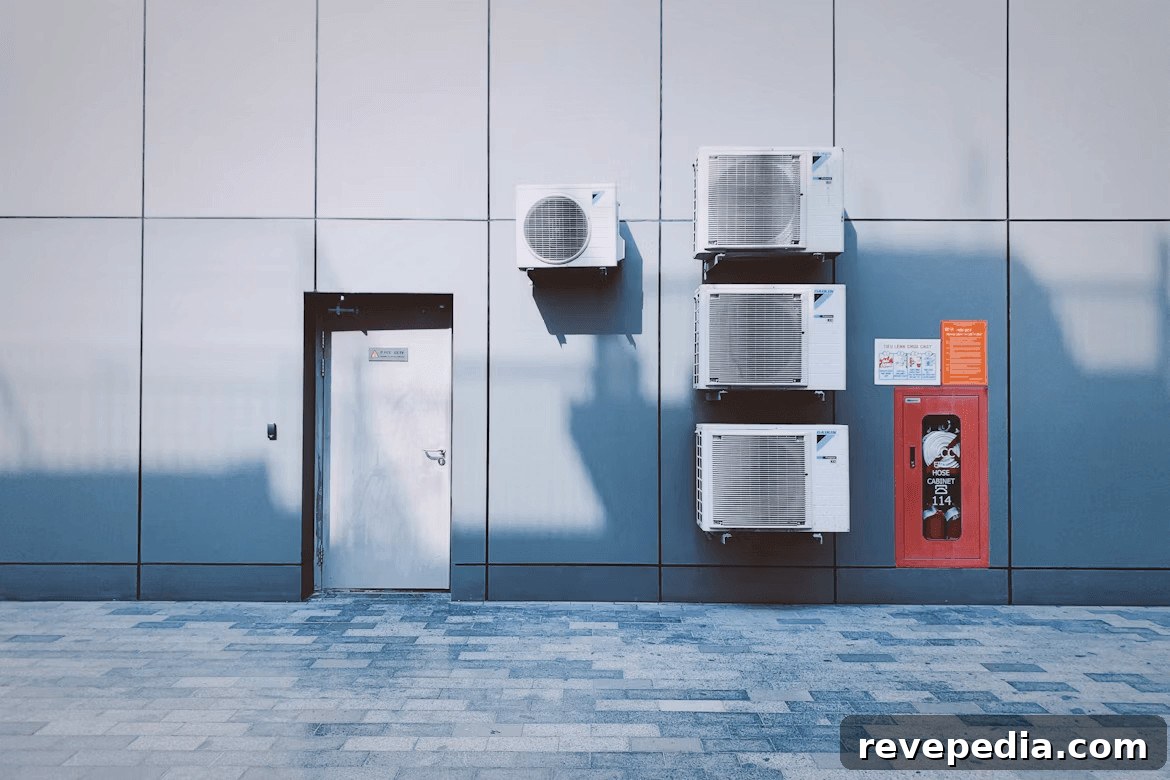
Every July, HVAC dispatch lines fill with the same calls: the house has climbed to 84°F, the air from the vents feels weak, and the outdoor thermometer reads 102°F. This isn’t bad luck. An air conditioner that spent spring running lightly gets its true stress test during a heat wave, and the day it fails is almost always when you need it most.
Here’s the short version: during extreme heat your AC runs longer, works harder, and draws more electrical current than at any other time of year. Small weaknesses that passed unnoticed in mild weather are often pushed beyond their limits in August. The good news is most of these failures give warning signs weeks in advance — you just need to know what to watch and listen for. If you’d rather have a pro handle it, reputable technicians see this pattern every summer and a proper tune-up is far cheaper than an emergency visit during a heat advisory. But you can prevent many common problems yourself, and the rest of this article explains how.
What a Heat Wave Actually Does to Your System
An air conditioner doesn’t cool air so much as it moves heat. The refrigerant circuit removes heat from inside your home and dumps it outdoors through the condenser coil. The larger the temperature difference between indoors and outdoors, the harder that transfer becomes. On a mild day the system may coast; on a 102°F day it can run nearly nonstop and still struggle to keep up.
That continuous runtime is the real stressor because it exposes components that normally see little wear. The run capacitor that starts the compressor heats up with every cycle. Contactors that switch the compressor begin to pit. The blower motor operates for hours at a stretch instead of short intervals. These parts don’t fail because they’re defective — they fail because they finally get used as intended. In short, heat waves don’t create problems so much as reveal parts that were already worn.
Does a Dirty Filter Really Matter That Much?
Yes — this is one of the simplest and most effective fixes. A clogged filter restricts airflow over the evaporator coil, causing the coil to get colder than normal and potentially ice over. Once ice forms, airflow is blocked and the system may appear to run normally while delivering only room-temperature air. Many homeowners assume low refrigerant when the real issue is a filter left unchanged since spring. Check filters monthly during cooling season and replace or clean them before the first sustained hot stretch. A low-cost filter is one of the best insurance buys for your AC.
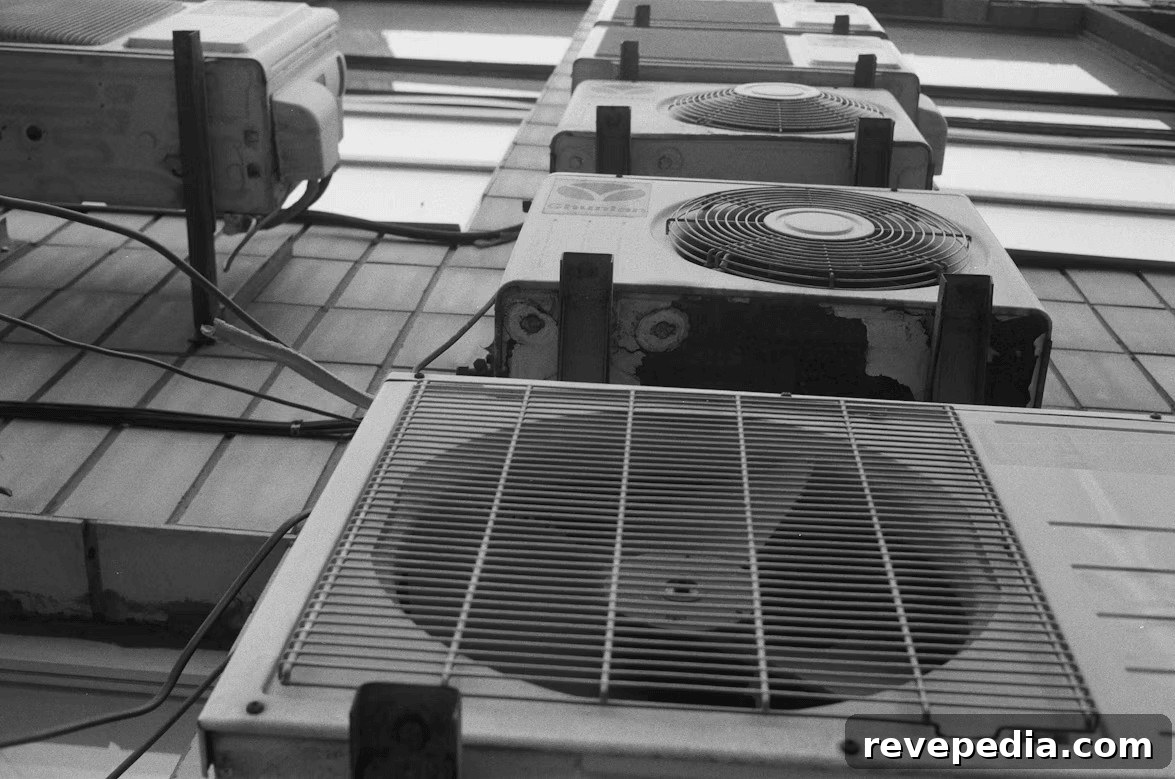
While you’re checking the filter, inspect the outdoor condenser too. A coil clogged with dirt, leaves, or grass forces the system to work harder to shed heat, which increases energy use and shortens equipment life. Keep at least two feet of clear space around the unit and gently rinse the fins from the inside out with a garden hose on low pressure.
Five Things to Check Before the Next Hot Stretch
Do these checks on a mild morning — not at 6 p.m. when the house is already sweltering. The whole list should take about twenty minutes.
- Filter: Replace or clean it if reusable. Mark the date on the frame to stop guessing.
- Outdoor unit: Clear debris, trim back shrubs, and rinse the coil fins with a low-pressure hose.
- Thermostat: Replace batteries and perform a real cooling call rather than just switching the fan to ON.
- Drain line: Locate the condensate drain and confirm it flows freely. A clogged drain can trip a float switch and shut the system down.
- Vents: Make sure every supply register is open and unobstructed by rugs or furniture. Closing vents doesn’t save money; it pressurizes ductwork.
If airflow from the vents is weak even with a clean filter, or you hear a clicking sound at the outdoor unit while the fan fails to start, stop and call a technician. Those symptoms often indicate a failing capacitor or contactor, and continued operation can damage the compressor.
The Parts That Fail First, and What They Cost You
Most heat-wave failures fall into four categories. Identifying which one you’re facing helps set the right urgency for repair.
| Component | Typical symptom | Urgency |
| Run capacitor | Outdoor fan hums but doesn’t spin, or compressor clicks and resets | Repair now — small part, quick fix |
| Contactor | Unit won’t start or short cycles frequently | Repair now — relatively inexpensive |
| Refrigerant charge | Works briefly then stops; ice on indoor coil | Licensed technician required; leak search needed |
| Compressor | Loud grinding, breaker trips, no cooling | Serious — may require replacement |
Capacitors and contactors are the most common heat-related failures and also among the least expensive to replace. That’s why timely diagnosis matters — the part likely to fail often costs the least, but finding it quickly on a busy service day is the real value. Refrigerant problems require a licensed technician because a leak must be located and repaired; topping off the charge without fixing the leak is only a temporary fix and will cost more next year. If a technician offers to add refrigerant without a leak search, get a second opinion.
When to Repair and When to Replace
This is where homeowners often make the wrong call. A simple rule that balances cost and reliability: repair if the system is under ten years old, the failure is limited to a single component, and the unit has been otherwise reliable. Consider replacement if you face compressor failure on a unit older than twelve years or if you’ve paid for two or more significant repairs in the past three cooling seasons. At that point you’re effectively renting a system through repeated repairs instead of owning a dependable unit.
Also note: efficiency ratings on new equipment are set by standards developed with expert input, so published SEER or EER numbers reflect real performance, not marketing hype. A higher-efficiency replacement will lower the cost of future cooling seasons, but it won’t fix an immediate outage. If you rent, document problems thoroughly: take photos of the thermostat, record temperatures and the date you reported the issue to create a clear paper trail.
What to Do the Next Time It Happens
Write this short checklist somewhere easy to find. First, check the breaker. Then inspect the filter and the outdoor unit for a tripped float switch or a blocked coil. Wait thirty minutes to see if the system resumes. If there’s no change, turn the system off at the thermostat to prevent further strain and call a qualified technician.
Homes that get through heat waves with a working AC and a modest repair bill usually aren’t lucky — they’re prepared. They changed a filter in May, noticed an odd sound in June, and acted early. Preventive checks and timely maintenance beat emergency repairs every time. Your system has likely been signaling what it needs for months; the only question is whether you listened.