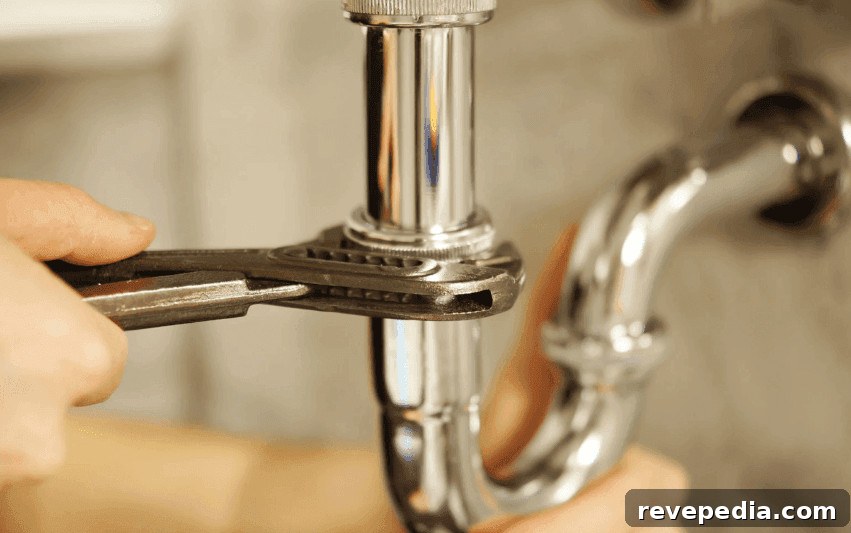
The smallest plumbing job in a home almost never stays small. What looks like a simple vanity swap can stall at a frozen shutoff valve. A plan to add a laundry shelf can become a hassle when the supply line behind the washer is sweating. A quick pre-check can save time, money, and headaches.
Before you pull cabinets or open floors, walk through the work area slowly. You do not need a toolbox full of specialty gear—just a flashlight, a towel, a small adjustable wrench, a phone for photos, and a bucket are enough for an initial inspection. If anything looks even slightly questionable, it’s far better to discover it before the project is underway and the house has no working sink or a flooded cabinet.
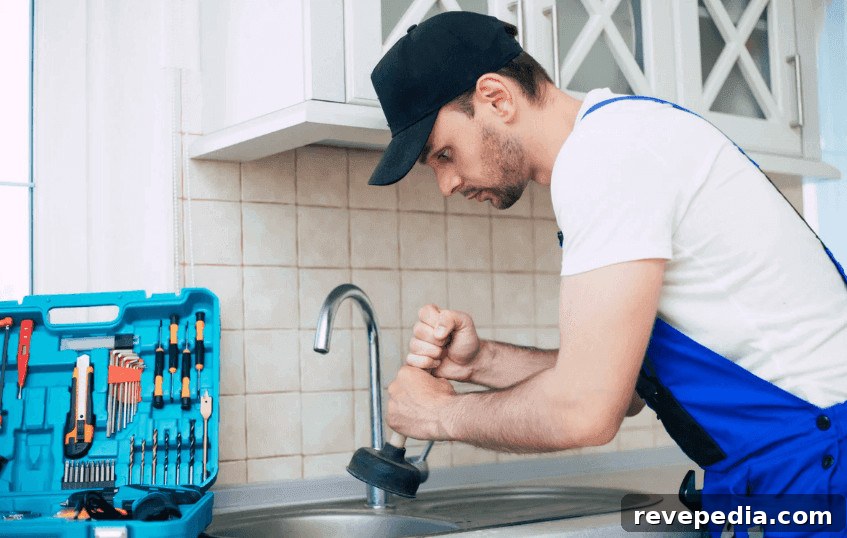
Start with the shutoff valves.
Begin with the shutoff valves, not the faucet, toilet, or fixture you plan to replace. If you cannot stop the water cleanly, the job should not start. Under-sink valves can appear fine until they haven’t been turned in years; handles can feel brittle, leak when closed, or be seized completely. Toilets and other fixtures share the same risks. Discovering a faulty shutoff while the tank or sink is removed is a recipe for urgent calls and costly fixes.
Look under the cabinet before buying parts.
The attractive part—new faucet, sink, or vanity—is tempting to buy first. But the real work happens under the cabinet where supply lines, the drain trap, wall pipes, and shutoff valves determine how smooth the job will go. Check the area with a flashlight before spending on fixtures. Look for water stains, a swollen cabinet floor, white mineral crust, soft or crumbling drywall, rusted nuts, and traps that appear patched or misaligned.
| What to check | What should look good | What should make the project pause |
| Shutoff valves | Dry, reachable, smooth movement | Drips, frozen handles, corrosion |
| Supply lines | Flexible, clean, not kinked | Cracks, rust, bulges |
| Drain trap | Tight joints, clean shape | Leaks, tape repairs, odd angles |
| Cabinet floor | Dry wood or solid panel | Swelling, stains, soft spots |
| Wall opening | Clean pipe entry | Damp drywall, musty smell |
Know when the job needs a real plumber.
Many repairs are reasonable for a careful DIYer: swapping a faucet, replacing a flexible supply line, clearing a simple P-trap, changing a toilet fill valve, or tightening a small visible leak. But some problems require professional skills, permits, or code knowledge. Gas lines, sewer backups, water heater failures, hidden leaks, old galvanized pipe, slab leaks, and any work that may affect building codes should be entrusted to a licensed plumber.
Having contact information for local professionals before you start can remove a lot of stress. It’s not that every drip is an emergency, but when a job moves beyond simple tasks, timely local help can prevent bigger damage.
Check the water heater even if the project is elsewhere.
Water heaters are easy to forget until they cause trouble. Before beginning work that affects multiple fixtures, take a minute to inspect the heater. Look at the pan, the surrounding floor, the shutoff and relief valves, and fittings for signs of rust, leaks, or mineral buildup. If the unit is tucked away, it still pays to check—an unnoticed problem at the heater can turn into a costly surprise while you’re focused on a different project.
Also note the unit’s apparent age if the label is readable. An older heater is not automatically failing, but visible corrosion, moisture, or crust around connections is a clear reason to pause and address the issue first.
Do not ignore outdoor plumbing.
Outdoor spigots, hose bibs, irrigation systems, and exposed pipes face sun, freezing, yard equipment, pets, and general wear. Small leaks at hose connections can soak soil for weeks before they’re noticed. Before spring yard work or seasonal tasks, run the outdoor spigots and watch the wall and foundation behind them. Water should flow from the outlet only; if it runs behind siding, down the foundation, or through the handle, fix it promptly.
Outdoor plumbing also matters for garages, utility sinks, or outdoor showers—these systems tend to worsen right when they’re most needed.
Pack a small plumbing kit before starting.
A compact kit keeps the job from turning into a frantic search while water is involved. Useful items include an adjustable wrench, tongue-and-groove pliers, a flashlight or headlamp, a small bucket, old towels, plumber’s tape, a replacement supply line, a utility knife, gloves, and a phone for photos. Taking pictures before disconnecting anything, especially under a sink, can save a lot of guesswork when putting things back together.
Watch the first hour after the repair.
Don’t assume the job is finished once water is restored. Slow down and test everything: run faucets, flush toilets, fill and drain sinks, and check every connection with a dry paper towel. If the towel picks up moisture, address the leak immediately. Recheck later as well—some connections appear dry at first but begin to weep after pressure sits on them. Catching a small drip while the cabinet is still empty is far easier than finding it after everything is packed away.
The repair that gets skipped usually comes back.
Rushed or incomplete plumbing work tends to return as a problem. A loose trap, tired valve, or tiny leak might seem minor during a busy weekend, but water and time are relentless. DIY plumbing is satisfying when jobs are clean, visible, and low-risk. Knowing when to stop and call a pro keeps the house dry, prevents small repairs from becoming disasters, and saves both time and money in the long run.