
Image by Magnific
Some home projects sit in a gray area where DIY makes sense: tiling a bathroom, framing a deck, or running a new circuit if you know what you’re doing. You balance skill, safety, and cost and make a call.
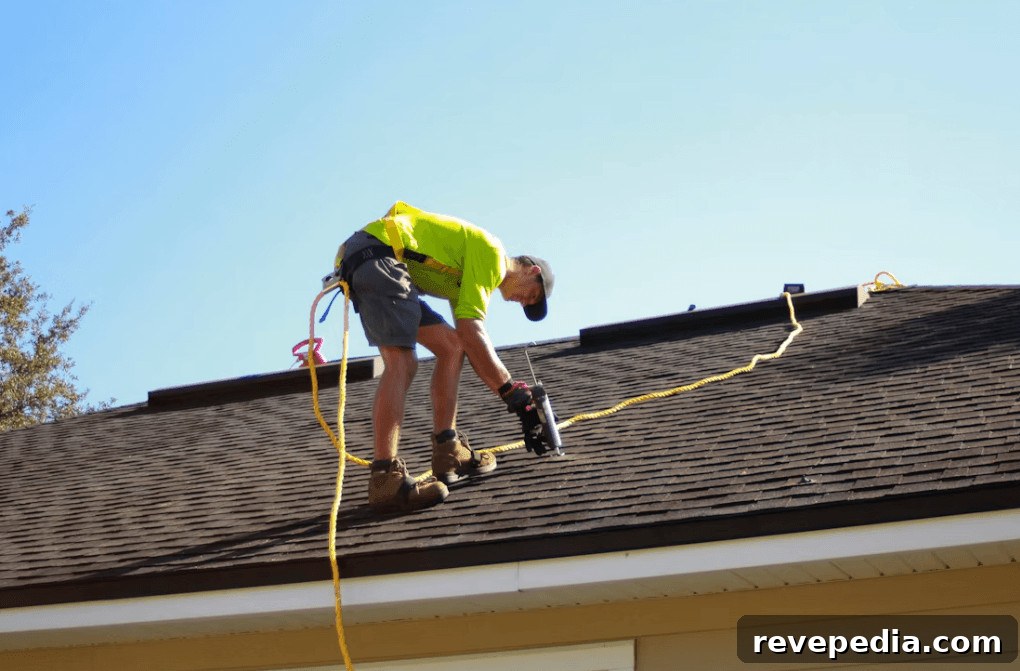
Roofing doesn’t belong in that category, not because the tasks are inherently complex — you can learn to nail a shingle in minutes — but because most roofing mistakes have consequences that far outweigh their apparent difficulty. A small, wrong detail rarely produces an ugly roof; it produces hidden water damage, mold in wall cavities, or a serious fall.
The Real Cost Curve
Most DIY errors are obvious and fixable: a crooked tile, a wobbly shelf, or a fence post that needs re-setting. Roof failures are different. They’re invisible and cumulative. A flashing installed a half-inch too short may not leak for months or years; when it does, the water often travels through insulation and structure before it shows as a stain on a ceiling far from the original problem.
That mismatch between how easy a job looks and how costly the failure can be is the central point. The right way to think about roof work is “reversible versus not” rather than “easy versus hard.” If a mistake is easily reversed, it’s a reasonable DIY project. If not, it’s not.
Green Light: Ground-Level Maintenance and Inspections
Many effective roof-related tasks can — and should — be done without ever stepping onto the roof.
Use binoculars for regular exterior inspections. From the ground you can spot lifted or missing shingles, gutters clogged with granules, sagging roof lines, damaged or rusted flashing around penetrations, and daylight showing through a ridge vent. A twice-yearly walk around the house catches most issues while they remain inexpensive to repair.
Attic inspections are often even more revealing and safer than roof work. On a bright day, turn the attic lights off and look for pinpoints of daylight, dark stains on the underside of the sheathing, damp or compressed insulation, and rust on nail heads, which can indicate condensation. Then check again during heavy rain to look for active drips. This routine detects more problems than almost any exterior-only check an amateur can perform.
Amber Light: Gutters and Ladder Safety
Gutter cleaning feels routine, but it’s the roofing-adjacent chore that sends the most homeowners to the hospital. Professionals treat ladder work with serious care, and their caution is instructive.
If you clean your own gutters, prioritize equipment and technique: use a ladder rated for your weight and tools, add a stabilizer so rails rest on fascia rather than crushing gutters, and have a second person steady the base. Avoid overreaching; climb down and move the ladder more often. Many injuries happen because people shortcut these basic precautions.
Red Light: Anything Involving Water Management
Flashing, valleys, roof penetrations, chimney counter-flashing, ridge work, and step flashing are where roofs fail. The critical issue isn’t a lack of skill but the correct sequencing of materials. A roof’s water-shedding system relies on layers that overlap in a precise order. If the sequence is wrong, the assembly can look perfect while channeling water directly into the structure. There’s no reliable short-term test for this; the verdict comes with weather.
Red Light: Work That Affects Warranties
Before you try to fix a small issue, check any manufacturer or contractor warranties. Many warranties include specific installation and repair conditions. A homeowner’s use of a generic sealant or a makeshift repair can void coverage. Read the paperwork before you start wrenching or caulking.
The Sealant Trap
Sealant is the most overused product in home maintenance. It has legitimate uses as a supplemental measure but is often misapplied as a substitute for proper mechanical repairs. A bead of sealant around a vent boot is a classic symptom fix: it may hold for a season or two, hide the underlying problem, and make later repairs more difficult because cured sealant bonds to surrounding materials.
When a boot or flashing fails, replace the component instead of relying on caulking to stop the leak.
Ladders Are the Real Hazard
Take ladder safety seriously: it’s the single most important preventive step you can take. Many ladder injuries occur because the ladder is set at the wrong angle and slips at the base. The proper angle for an extension ladder is about 75 degrees — use the 4-to-1 rule: for every four feet of vertical height, place the base one foot from the wall. If you have a smartphone, angle-measuring tools can help verify position.
Also extend the ladder at least three feet above the roof edge so you have a handhold during the transition, and tie the ladder at the top if possible. Most falls occur during the transition on or off the roof, so securing this point is crucial.
The Practical Middle Ground
You don’t have to choose between fully DIY and full replacement. Inspect the roof and attic twice a year and after storms, keep gutters clear while observing ladder safety, and learn to read what you see. Photograph and document conditions so you have a baseline to compare over time.
Hire professionals for anything that manages water, any work covered by warranty, and any task that requires you to work out on the roof plane rather than at its edge. This approach costs less over time because early problems are identified and repaired before they escalate into expensive structural damage.
Know the Job You’re Taking On
The real mistake isn’t trying to do roof work yourself; it’s misclassifying the job. Before you climb, ask yourself: what happens if this is done slightly wrong? If the answer is “it looks bad” or “I can redo it,” proceed carefully. If the answer is “I’ll only discover it years from now” or “I might fall,” step back and get professional help.