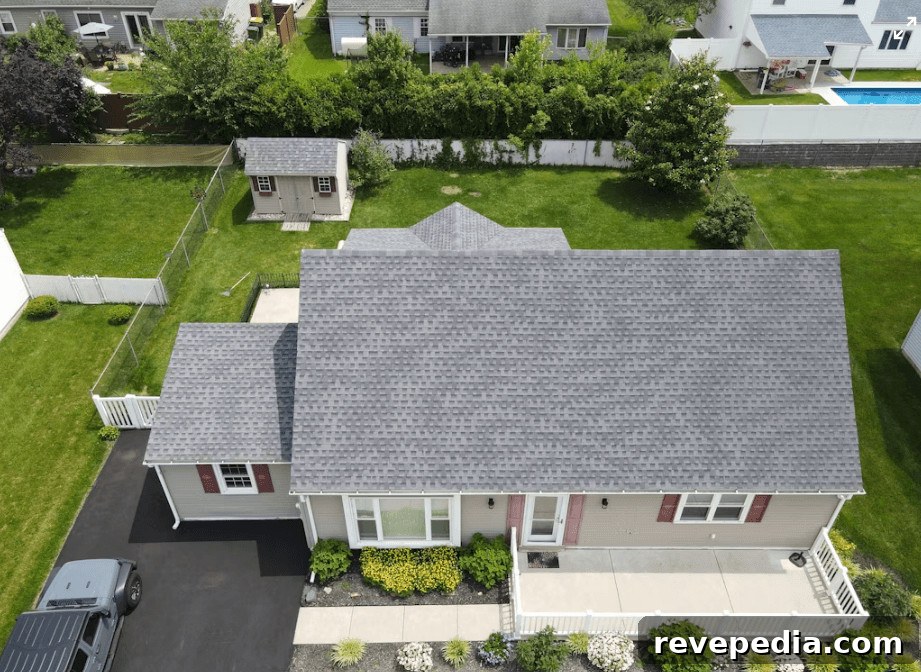
If you’ve never experienced a complete roof replacement, the process can seem mysterious: a crew arrives, works for a few days, and the roof appears finished. Knowing what happens at each stage helps you set expectations, ask the right questions, and recognize signs of a rushed or low-quality installation.
Step One: Pre-Installation Inspection and Material Delivery
Before any tear-off begins, a thorough inspection confirms the scope of work matches the estimate and identifies any surprises, such as hidden decking damage or structural issues that must be addressed before new material is installed. Contractors should document findings and discuss them with you before proceeding. Materials are commonly delivered at least a day ahead of the scheduled work; they may be staged on the ground or, when safe and practical, lifted and positioned on the roof for quicker access during installation.
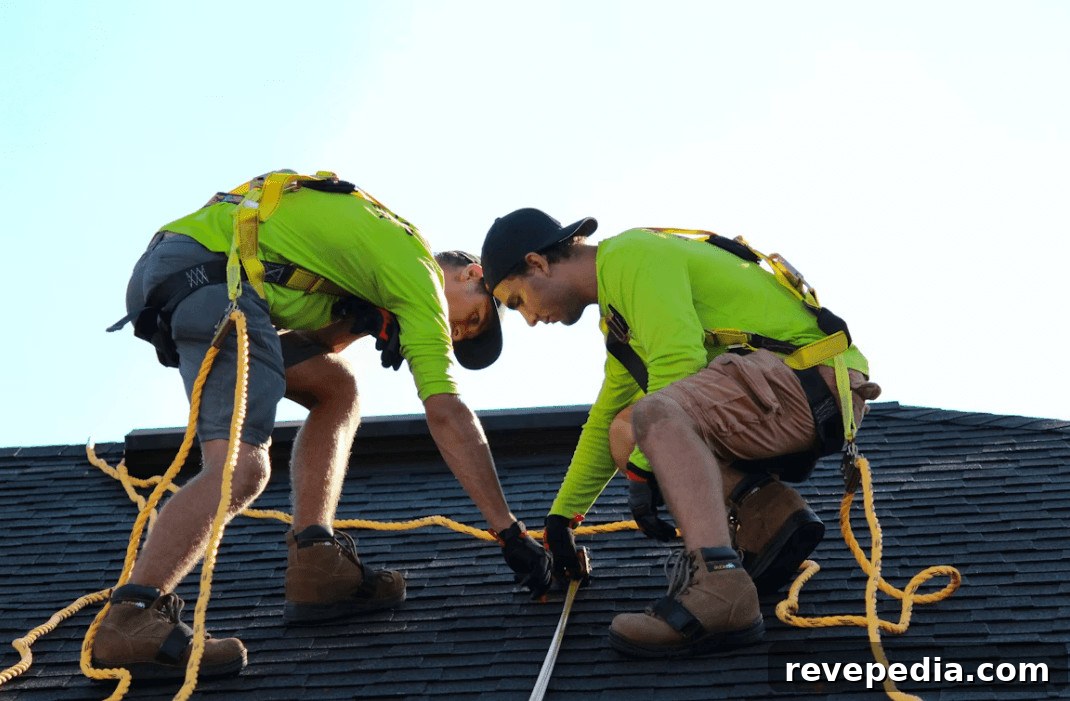
Photo credit: Raze Solar
Step Two: Protecting the Property
Professional roofers take steps to protect landscaping, siding, windows, gutters, outdoor furniture and other vulnerable areas before tearing off old roofing. Tarps, plywood walkways, and protective coverings are typically placed around the perimeter to catch falling debris and prevent damage. Skipping or rushing this step is a common sign of a lower-quality contractor, and it’s one of the easiest things for a homeowner to verify while the crew prepares the site.
Step Three: Tear-Off
The existing roofing material is removed down to the deck so the wood sheathing underneath is exposed. During tear-off, previously hidden problems—rotted decking, water stains, mold, or inadequate ventilation—often reveal themselves. A reputable roofing contractor will pause to show you any significant decking damage discovered at this stage and provide recommendations and cost estimates for necessary repairs rather than covering problems up and continuing the installation.
Step Four: Deck Repair, If Needed
If sections of the decking are damaged or rotten, they should be cut out and replaced with new sheathing before any underlayment or shingles are installed. Proper deck repair is critical: adding new roofing material over compromised sheathing can lead to premature failure, uneven surfaces, and safety issues. Make sure your scope of work includes provisions for decking repairs and that the contractor documents the repairs performed.
Step Five: Underlayment and Ice-and-Water Shield
An underlayment is applied to the entire deck to serve as a secondary water barrier beneath the visible roofing material. In regions that experience snow and freezing temperatures, a self-adhering ice-and-water shield is typically installed along eaves, roof valleys, and around roof penetrations to reduce the risk of leaks caused by ice dams or wind-driven rain. Proper underlayment installation contributes substantially to the roof’s long-term performance.
Step Six: Flashing Installation
Flashing is installed around chimneys, vents, skylights, dormers, and in valleys before the main roofing material goes on. Well-installed flashing is one of the most important defenses against future leaks; conversely, improperly installed or omitted flashing is a frequent cause of post-installation water intrusion. When evaluating a contractor, ask about the flashing materials and installation methods they use and whether they follow manufacturer and industry best practices.
Step Seven: Installing the Roofing Material
Shingles, tiles, or membrane panels are installed according to the manufacturer’s instructions for pattern, spacing, and fastening. While this is the most visible phase of roof replacement, many of the elements that determine the system’s durability—deck condition, underlayment quality, and flashing—have already been addressed. Ensure the crew follows the manufacturer’s fastening schedule and layout guidelines to maintain product warranties and long-term performance.
Step Eight: Ventilation and Final Details
Proper attic ventilation—ridge vents, soffit vents, or powered vents where appropriate—is installed or tied into the existing ventilation system. Adequate ventilation affects both the roof’s longevity and the home’s energy efficiency by reducing heat buildup and moisture accumulation in the attic. Final detailing includes ridge caps, drip edges, sealants where required, and any remaining trim work to ensure a complete, weather-tight assembly.
Step Nine: Cleanup and Final Inspection
A quality roof replacement finishes with a thorough cleanup: crews should remove all debris, perform magnetic sweeps to collect nails, and clear gutters and downspouts if needed. The contractor should then conduct a final walkthrough with you to review the completed work, point out warranty information, and answer questions. A detailed final inspection and documentation provide peace of mind and a record of the installation.
Getting a Clear Picture Before Work Begins
Understanding each stage of roof installation helps you evaluate contractors and avoid common shortcuts. Before committing to a new roof, confirm that the contractor’s process includes a careful pre-installation inspection, clear communication about decking repairs and flashing, correct underlayment and ventilation procedures, and a thorough cleanup and final inspection. These steps are the most important factors that determine how well your new roof will perform and how long it will last.