Upgrading your home gas piping helps heating systems run efficiently and protects modern appliances. Many older gas lines can’t meet the demands of high-efficiency furnaces, outdoor kitchens, or tankless water heaters. Before starting an upgrade, it’s important to understand typical installation costs, permit requirements, and the safety steps professionals follow.
A properly upgraded piping system provides steady fuel pressure, reduces the risk of leaks, and improves appliance performance. Knowing what to expect during planning and installation makes the project more manageable and helps avoid costly surprises.
Recognizing When Your Gas Line Needs an Upgrade
Homeowners sometimes add heavy-duty appliances without checking whether existing supply lines can handle the increased demand. If you plan to add equipment like a high-capacity furnace, outdoor appliances, or a tankless water heater, a professional gas line service will ensure proper sizing and safety compliance. Undersized pipes restrict fuel flow and force appliances to run inefficiently or fail safety checks.
Visible rust or corrosion on metal pipes indicates structural deterioration. Corrosion near joints suggests the pipe walls are thinning and increases the risk of a leak. Replacing aging iron lines proactively prevents small issues from becoming dangerous emergencies.
Installing an outdoor fire pit, converting an electric dryer to gas, or adding multiple high-draw fixtures often requires increased gas volume. Standard residential line sizes may not supply several high-demand appliances reliably, especially during peak winter usage. Investing in system upgrades ensures consistent fuel delivery and safer operation.
Calculating General Gas Line Installation Expenses
Budgeting for gas line replacement depends primarily on total linear distance, pipe material, and labor complexity. Typical repair and replacement projects commonly range around $598 on average, often falling between $15 and $25 per linear foot for straightforward indoor runs. Short, accessible runs in basements or utility rooms tend to be least expensive.
Longer runs, lines that require routing through finished walls, or underground extensions add labor and material costs. Professional installation costs can vary widely, affected by local contractor rates and municipal inspection fees. Harder installations—such as working in tight crawl spaces—raise labor hours and therefore the final price.
Material choice also influences cost: flexible corrugated stainless steel tubing is typically easier to route and can save labor, while rigid black iron may be less expensive for material but more time-consuming to install.
Understanding Underground and Exterior Line Pricing
Outdoor gas lines to pool heaters, grills, or fire features add trenching and restoration work to the project scope. Outdoor replacement projects usually run between $15 and $35 per linear foot, but rates vary with pipe type, site access, and property terrain. Excavation through rocky soil or beneath paved surfaces increases complexity and cost.
Deep trenching requires care to protect tree roots, buried utilities, and landscaping. For some jobs, underground installation rates range between $15 and $50 per linear foot when trench depth, soil conditions, and permit costs are included. Professional excavators use appropriate equipment to minimize yard damage and ensure safe burial depth and backfill compaction.
Contractors typically restore turf, concrete, or pavers after completing underground runs. Factoring in landscaping or hardscape repairs into your budget prevents unexpected expenses once installation is complete.
Estimating Costs for Specific Piping Runs and Equipment
Each appliance hookup presents different routing and access challenges that affect cost. Basic piping runs often fall between $864 and $1,060 per run, depending on site conditions, while single simple repairs or short runs may be considerably less. Installing multiple gas fixtures during one service visit usually reduces the per-line installation fee.
National averages show many homeowners pay between $271 and $935 for common residential jobs, with an overall average near $598. More complex custom layouts take longer to pressure-test and inspect, raising costs. Primary factors that influence total installation estimates include:
- Distance from the main meter to each appliance
- Choice of pipe material—flexible stainless tubing versus rigid black steel
- Wall penetrations, ceiling or floor routing, and crawlspace accessibility
- Local permit fees and mandatory safety inspections
Careful route planning and grouping appliance connections where practical reduce material waste and labor time.
Factor Breakdown for Total Installation Budgets
Overall pricing reflects materials, labor, and the administrative steps required by local building codes. Homeowners typically pay between $15 and $25 per linear foot when hiring licensed professionals who handle permits, materials, labor, and safety testing. More extensive retrofits—such as upgrading a main service line to support a whole-house tankless water heater or multiple high-demand appliances—fall toward the higher end of the cost spectrum.
Comprehensive home gas projects can range from several hundred to a few thousand dollars. Typical totals span roughly $400 to $2,500, with most standard jobs landing between $800 and $1,800. Permit fees vary by jurisdiction; licensed plumbers usually include permit coordination in their estimates to ensure compliance with fuel gas codes.
Selecting the Right Piping Materials for Your Home
Black iron pipe remains a common material for indoor, structural gas runs due to its durability and long service life. Threaded steel connections form secure seals that withstand mechanical stress, though installing rigid iron requires accurate cutting and threading on site.
Corrugated stainless steel tubing (CSST) provides flexible routing around obstacles inside walls and ceilings. Its flexibility can reduce the need for multiple fittings and often speeds installation. Many CSST products include protective coatings to resist punctures and abrasion.
For underground exterior lines, polyethylene or other approved plastic piping is often used because it resists soil moisture and chemical breakdown. Material selection should follow local code and manufacturer recommendations for buried gas service.
Crucial Safety Protocols During Installation
Working with natural gas requires strict adherence to safety procedures. Qualified technicians shut off the main supply and purge residual gas before cutting into lines to prevent accidental ignition while fittings are assembled. Safety testing is repeated at each stage of the job.
Standard safety checks include:
- Pressure testing using air or nitrogen before introducing fuel gas
- Applying liquid leak-detection solution to threaded joints and fittings
- Installing dedicated shutoff valves at each appliance location
- Verifying proper venting and clearances for high-capacity equipment
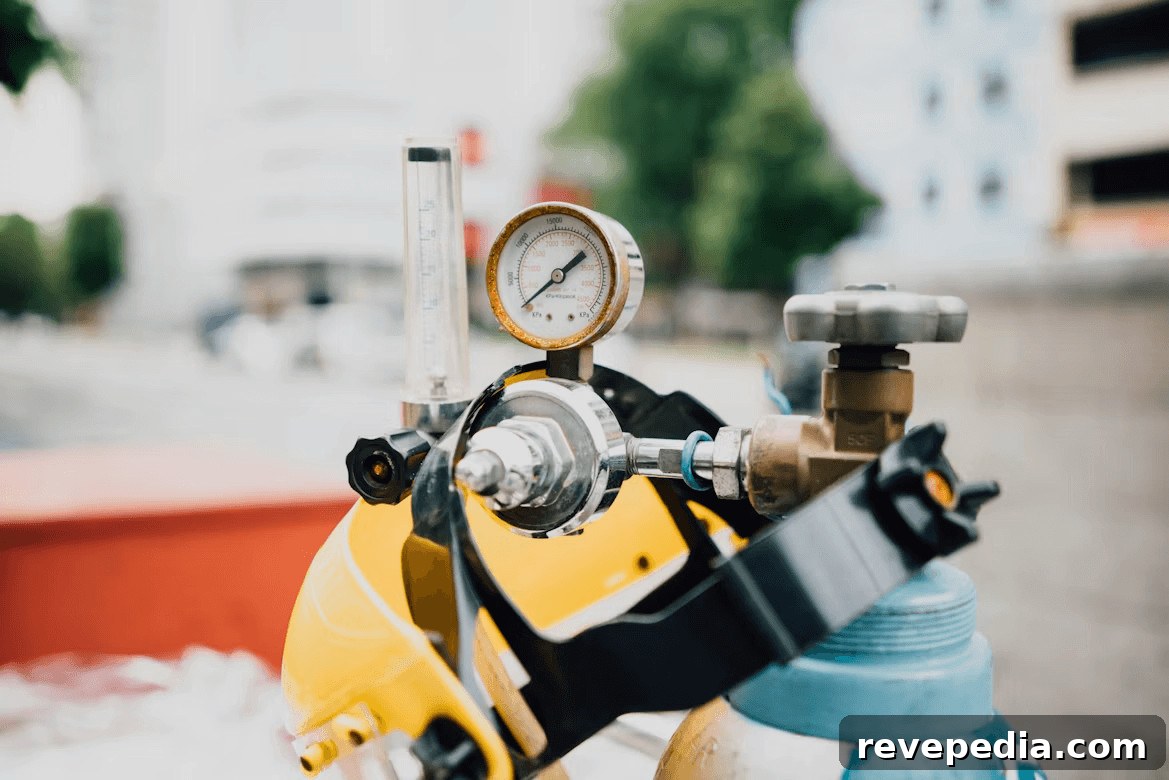
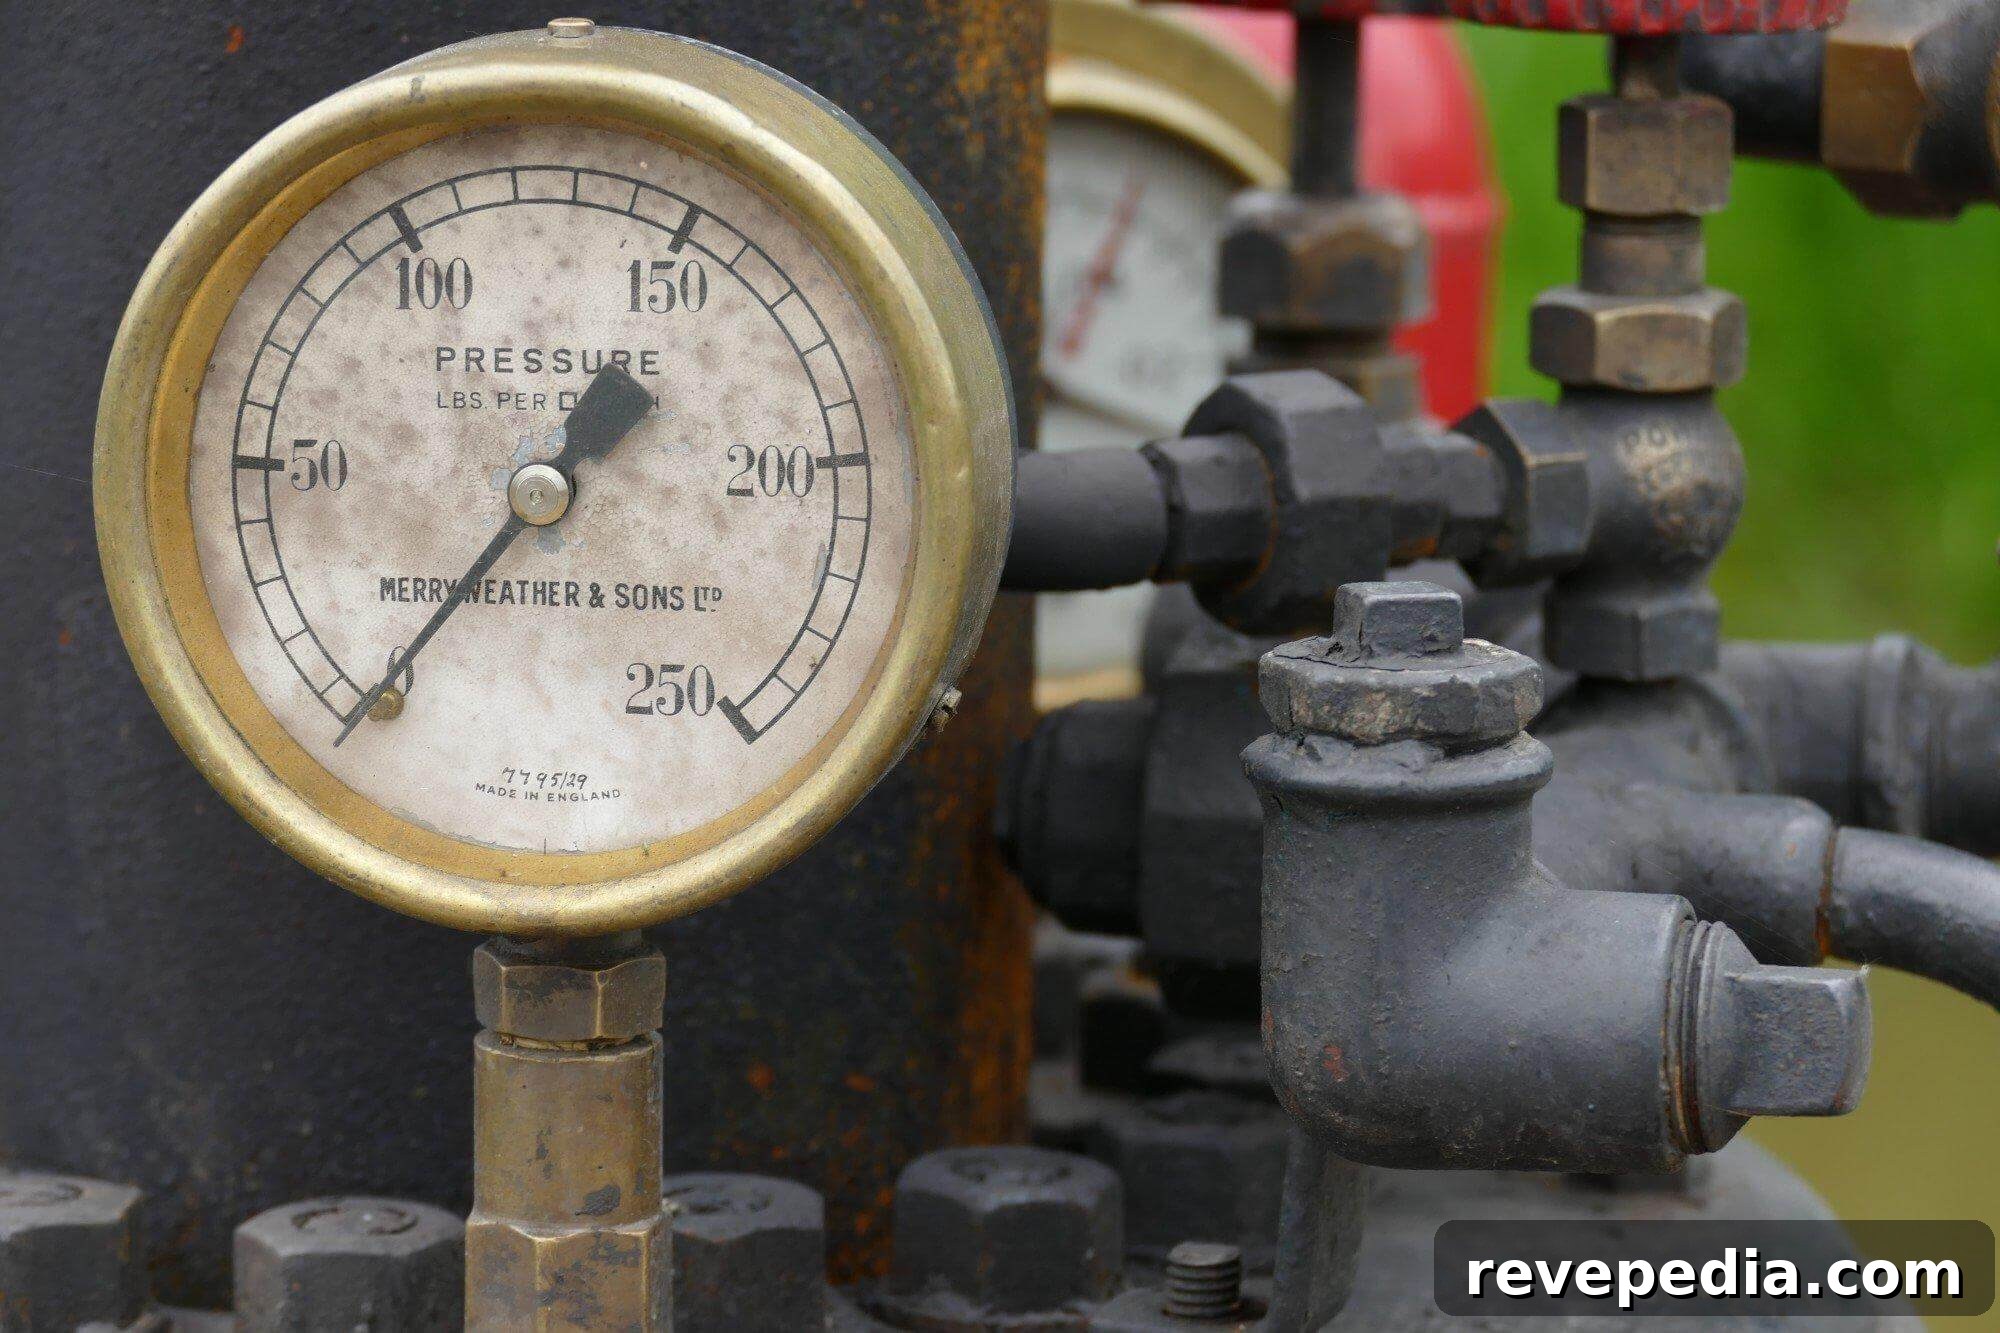
Technicians use pressure gauges, bubble tests, and calibrated detectors to catch micro-leaks that gauges alone might miss. Certified professionals perform multiple tests before restoring gas service to ensure complete system integrity.
Permits, Inspections, and Local Building Codes
Municipal building codes regulate gas line additions and alterations to protect homes and occupants. Homeowners must secure required permits for major plumbing modifications or new branch lines. Inspectors review completed installations before meters are reconnected and systems are placed back in service.
Unpermitted gas work can create significant safety hazards and complicate insurance claims or future home sales. Licensed contractors typically coordinate permit filings and inspection scheduling so the work meets current safety standards and national fuel gas codes.
Maintaining clear documentation of permits and inspections preserves your property record and helps when selling or refinancing the house.
Maintaining Your New Fuel Piping System
Routine maintenance keeps upgraded gas lines operating safely and efficiently for many years. Scheduling annual HVAC and plumbing inspections helps identify small issues—worn connectors, loose supports, or valve problems—before they escalate.
Keep storage off indoor gas lines and avoid placing heavy items against piping to prevent accidental damage. For outdoor lines, maintain a clear area free of deep-rooting trees and heavy landscaping equipment. If you ever detect a sulfur-like odor, hear whistling near pipes, or suspect a leak, take immediate action: shut off the gas, ventilate the area, and contact a licensed professional.
Upgrading household gas lines enhances safety, supports modern appliances, and improves overall system efficiency. Working with licensed plumbing professionals ensures correct line sizing, leak-free connections, and full code compliance. Clear budgeting, careful material selection, and adherence to safety protocols will help deliver reliable heat and efficient appliance performance for years to come.