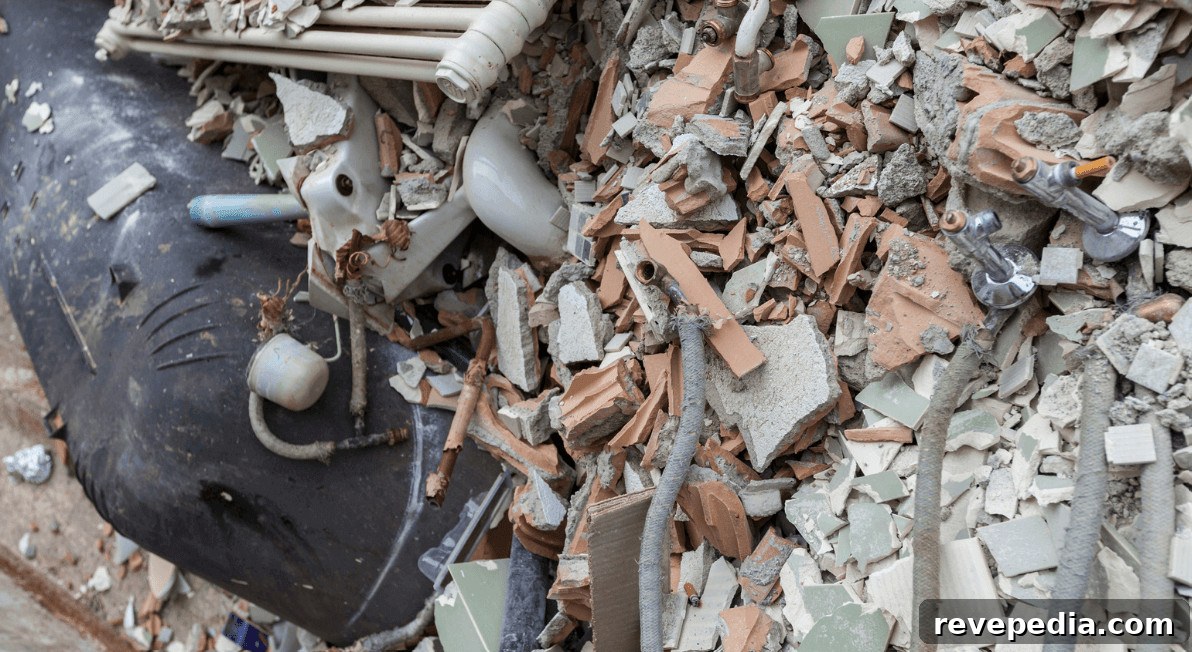
Home remodeling generates a lot of debris — from torn-out drywall and broken ceramic tile to scrap wood and chunks of concrete. Without a clear cleanup plan, even a modest project can become cluttered and unsafe. Old materials accumulate quickly once demolition begins, blocking walkways and creating tripping hazards, while dust, loose nails, and scattered fasteners add to the risk.
Whether you’re handling demolition yourself or hiring contractors for major work, decide where debris will go before the first wall comes down. A bit of planning at the outset will save time, money, and frustration during and after the renovation.

Set Clear Waste Goals Before Demolition Starts
Removing walls, cabinets, or flooring can produce surprising volumes of material in a short time. Before demolition, identify what can be recycled, donated, salvaged, reused, or must be discarded. Clean lumber, metal fixtures, and intact architectural elements often have value; drywall, broken tile, and damaged cabinetry typically need disposal.
You don’t need exact tonnage—assess what you’re removing (a kitchen of cabinets, several hundred square feet of flooring, or multiple sheets of drywall) to choose an appropriately sized container and plan pickup frequency. This prevents early overflow and reduces interruptions during work.
Select the Right Disposal Container for the Project
Choosing a container that matches the project size avoids unnecessary hassle. Small 10-yard dumpsters can fill quickly during a kitchen tearout, while oversized 40-yard units may take up too much driveway space for a modest remodel. Ask a local hauler for recommendations based on material types and volume.
Pay attention to weight limits. Masonry, brick, concrete, and wet plaster can become heavy fast; a partially filled container can still exceed its permitted weight. Confirm weight restrictions and any prohibited materials before delivery to avoid unexpected fees.
Designate Specific Waste Zones on the Jobsite
It’s tempting to drop debris wherever there’s an open spot, but designated collection areas keep active work zones clear and safer. A simple, effective setup might include:
- Color-coded bins for drywall and wood scraps
- Heavy plastic totes for hardware and fasteners
- Flat pallets or boxes for stackable cardboard and salvageable items
Keep containers close enough to the work area that people will use them, but position them so they don’t block entrances or paths. Clear walking routes matter when carrying tools, lumber, or bulky demolition pieces through the house.
Sort Materials as You Work
Waiting until the end to sort one large, mixed pile of debris creates a big, unpleasant job. Instead, separate materials progressively as they come out of the house. Keep clean lumber, metal, cardboard, recyclables, and general trash in separate areas when practical.
Don’t bury lightweight, bulky items under heavy masonry—separating them makes loading easier and preserves usable space inside the container. A few minutes of daily sorting and tidying during multi-day demolition prevents an overwhelming cleanup session later.
Set Aside Salvageable Building Materials for Reuse
Not everything pulled from a remodel belongs in a landfill. Solid wood doors, copper piping, vintage light fixtures, undamaged cabinets, and intact trim can have resale or reuse value. Lay these items aside before they get mixed with broken drywall and rubble so they remain clean and usable.
Create a protected staging area in a garage or covered corner to keep reusable materials dry. Check what local salvage businesses, donation centers, recycling facilities, or scrap yards accept before transporting items, and consider whether something might be useful elsewhere in your home.
Schedule Waste Pickups to Keep Work Moving
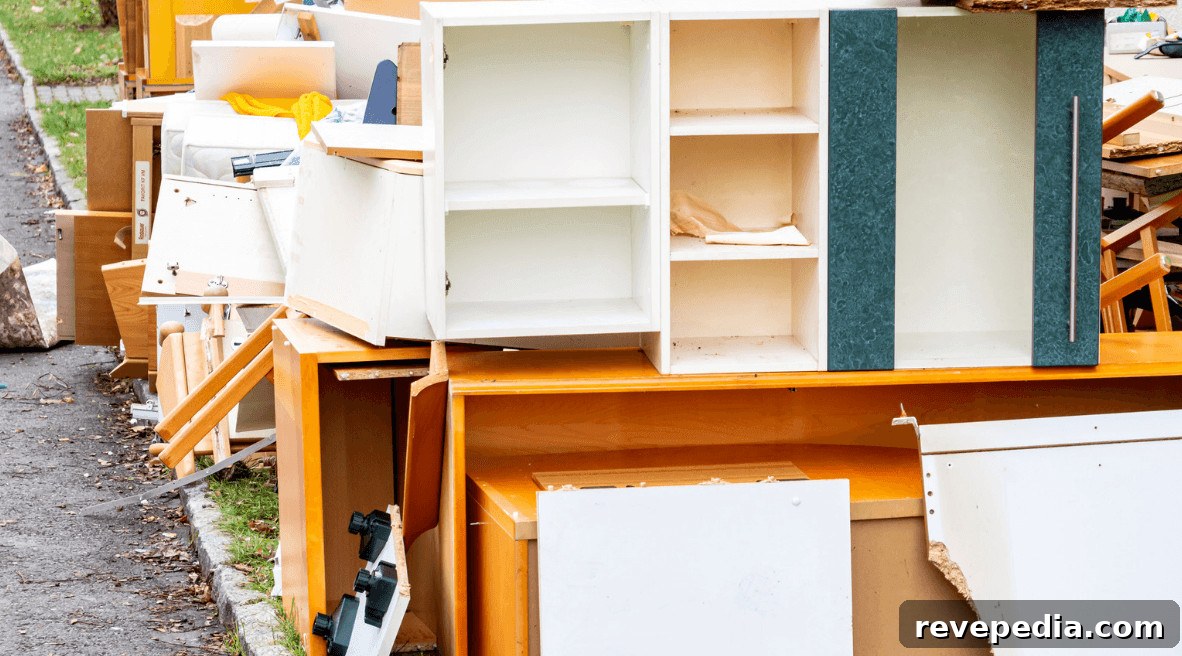
An overflowing dumpster can halt progress. Large demolition stages—kitchen removals, bathroom tearouts, flooring lifts, and structural work—produce the heaviest and bulkiest loads. Monitor how much room remains in the container and arrange pickups or exchanges before it becomes full.
Having an available container when the next stage starts is far easier than trying to stash large items like cabinets or countertops around a full dumpster. Plan pickups early enough so waste removal doesn’t delay the schedule.
Communicate the Cleanup Plan to Everyone
Confusion increases risk when multiple trades and DIY work overlap. Make the waste and salvage areas visible and tell everyone—plumbers, electricians, subcontractors, and family members—what goes where. Simple labels or signs distinguishing general debris, metal, recyclables, and items to keep reduce mistakes.
At the end of each workday, walk through the site to pick up loose screws and nails, move scraps out of walkways, and correct sorting errors while they’re still small. Starting each morning with clear paths and organized materials speeds work and lowers injury risk.

Handle Hazardous Materials with Appropriate Care
Older homes can contain materials that require extra caution: lead-based paint, asbestos-containing products, old chemical containers, and other hazardous substances should not be tossed into general construction waste. If you suspect hazardous materials, stop and seek testing or professional guidance before disturbing them.
Household paints, solvents, batteries, oils, and similar items typically have specific disposal rules. Keep these materials separate from regular renovation debris and contact your local waste authority or licensed disposal facility to learn proper handling and disposal procedures.
Maintain a Cleaner Renovation from Start to Finish
Renovation debris tends to expand to fill any available space. Decide where materials will go before demolition starts, set aside anything salvageable, separate materials as you work, and schedule timely pickups so a full container doesn’t stall progress. A few minutes of cleanup at the end of each day keeps walkways clear, reduces hazards, and makes the next day’s work easier.
Perfection isn’t the goal—control is. Keep debris contained, protect reusable items, and communicate the plan to everyone on site to keep the project moving safely and efficiently.