
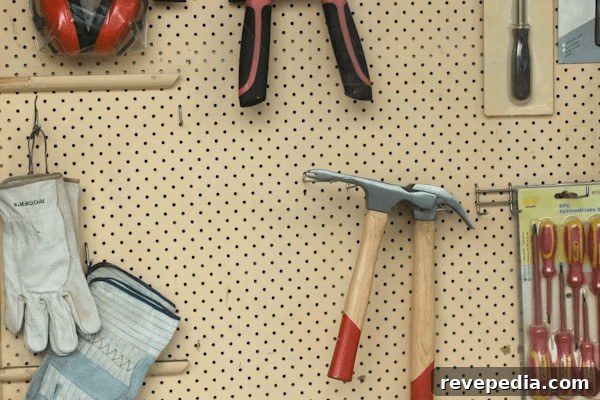
Professional window installation looks deceptively simple from the outside. Watching a crew at work makes it seem like they simply lift a unit into an opening and fasten it. What separates a clean, fast, long-lasting installation from a slow, leaky one is the right equipment used correctly.
Many DIY guides emphasize the step-by-step process but give less attention to the tools needed to do the job precisely. In Boise, where windows must perform through hot summers and freezing winters, small errors in fitting or sealing become costly over time. Before you commit to a window replacement project in Boise, it helps to understand which tools experienced installers rely on and why each one matters to the final result.
Why the right tools change everything
A professional crew isn’t fast just because its installers are skilled — they’re fast because their process is built around tools that remove guesswork. Laser levels check three planes at once. Foam guns deliver controlled, even expansion. Caulking tools produce consistent beads. Each piece of equipment solves a common installation problem that, if neglected, costs time and money later.
Think about a typical 15-window job: a manager won’t rely on a cordless drill and optimism. Crews invest in purpose-built equipment because poor installation becomes visible in drafts, sticking sashes, and water damage behind trim. When you hire an experienced installer, a portion of what you pay covers the equipment that prevents those problems in the first place.
Essential professional window installation tools
Professional-grade laser levels ($150–$400) provide durability and multi-plane accuracy for high-volume work. For single-window jobs, a quality consumer model ($50–$80) is usually accurate enough, but it requires more manual calibration. A window that’s just a quarter-inch out of square can create compounding issues — stress on the glass, air leaks, and water infiltration. Installers use lasers to check plumb, level, and square at once, saving minutes that add up to a reliable, long-lasting installation.
The difference shows over time: a square, properly installed window operates smoothly for decades. An off-square window will tighten up gradually and can become difficult or impossible to open within a few years.
Pry bars and removal tools
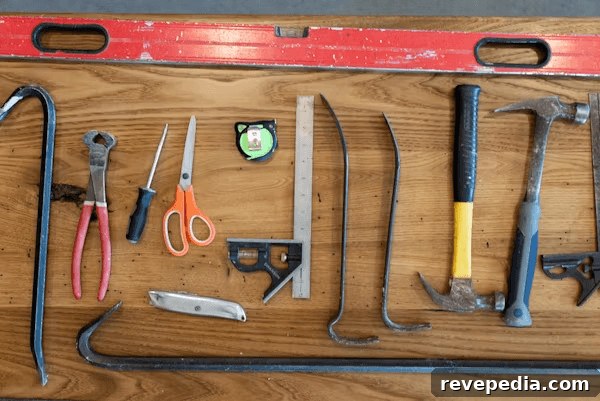
Removing the old window is where damage can happen quickly. Professionals use flat pry bars (2–4 inches) with protective padding and oscillating multi-tools with cutting attachments. The objective is not speed but careful extraction that preserves surrounding drywall, the sill, and trim. Inexperienced removals often punch holes in walls because they lack proper leverage.
The right removal tools protect what you keep while safely extracting what you replace.
Expanding foam guns
An expanding foam gun is a clear line between pro and DIY results. A basic dispensing gun costs $15–$30 and appears simple, but poor application leads to problems. Excess foam can bow the frame; too little leaves air gaps. Professional-grade foam guns allow controlled flow — the difference between a sealed installation and one that fails in a few years.
Professional foam application looks precise, like frosting a cake: small, measured bursts and trimmed excess. When you’re paying $500 or more for installation labor, foam application quality directly affects longevity and performance.
Caulking and sealant systems
A quality caulking gun ($25–$40) produces smooth, consistent beads. Professionals often carry multiple loaded guns with different sealants — specific formulations for exterior sealing under the frame and others designed for interior weatherproofing. Choosing the wrong sealant can result in failure during the first freeze-thaw cycle.
Window fitting tools: the overlooked essentials
| Tool | Cost | Why It Matters |
| Shim stock (cedar or plastic) | $5–$10 | Precise leveling without creating gaps or movement |
| Finish nailer (casing nailer) | $80–$120 | Secure trim without splitting wood or leaving marks |
| Utility knife (sharp) | $8–$15 | Clean caulk cuts and professional-looking trim work |
| Oscillating multi-tool | $50–$150 | Cuts old caulk, trims shims, and handles detailed work |
| Cordless impact driver | $60–$150 | Precise fastening with adjustable torque control |
Shims: the unsung heroes
Small cedar or plastic wedges fill gaps between the window frame and the rough opening. DIYers often reach for cardboard or whatever’s on hand. Professionals use pre-cut shim sets because a frame won’t sit perfectly plumb without them. Proper shimming determines whether your window remains stable and operates smoothly for decades.
Impact driver and torque control
A cordless impact driver ($60–$150) is standard, but torque control is key. Over-torquing strips fasteners or deforms the frame. Skilled installers adjust torque based on material — different settings for vinyl, wood, or aluminum. That experience is one reason hiring a trained installer is often worth the cost.
The oscillating multi-tool
An oscillating multi-tool ($50–$150) handles roughly a third of the detailed tasks: cutting old caulk, trimming shims flush, and handling precise trim work without switching tools. It’s the difference between a full day of work and completing the same job in half the time.
What works for DIY window projects without overspending
You don’t need thousands of dollars in equipment to replace a single window, but certain essentials will protect your investment:
- Quality laser level — $50–$80 (consumer-grade but accurate)
- Pry bar set — $30–$40
- Caulking gun + exterior caulk — ~$25
- Expanding foam gun — ~$20
- Drill-driver with impact setting — $60–$80
- Sharp utility knife — $10
- Shim stock — ~$8
Estimated tool investment: $245–$255 for a set that produces reliable results. A professional installation for one window commonly costs $500–$800; if you plan to install multiple windows or use the tools for future projects, the purchase can pay for itself quickly.
The honest conversation about hiring professionals
Whether to DIY or hire a professional depends on your comfort with the process, the time you have, and whether you’ll use the tools again. Each choice has trade-offs. Professional installers who invest in proper tools are betting on quality control: equipment costs matter less than the cost of corner-cutting.
Properly installed windows should function smoothly, be well supported, and form an effective weather barrier. Poor installation ruins otherwise good products: off-square frames stress the glass, improper sealing causes water damage, and rushed caulking can fail within a couple of seasons. The right tools are about doing the job correctly once, not repeatedly fixing mistakes.
When evaluating contractors, ask about their tools and equipment. Do they own their gear or borrow it? Have they invested in professional foam guns rather than relying on aerosol spray cans? Those questions reveal how a contractor approaches quality and whether they prioritize long-term performance.
Final take: tools define quality
Understanding what goes into a proper window installation helps you talk knowledgeably with contractors and assess your own abilities. You’ll see why a crew arrives with a particular set of tools and how skipping any of them can show up later as drafts, a stuck sash, or water intrusion. A staged, methodical installation process — from measurement and evaluation to installation and final walkthrough — gives homeowners confidence that the finished window will be inspected and sealed properly.
In the end, tools get packed back into trucks, but the quality they helped create remains every time the window opens, closes, or stands up to Boise weather.