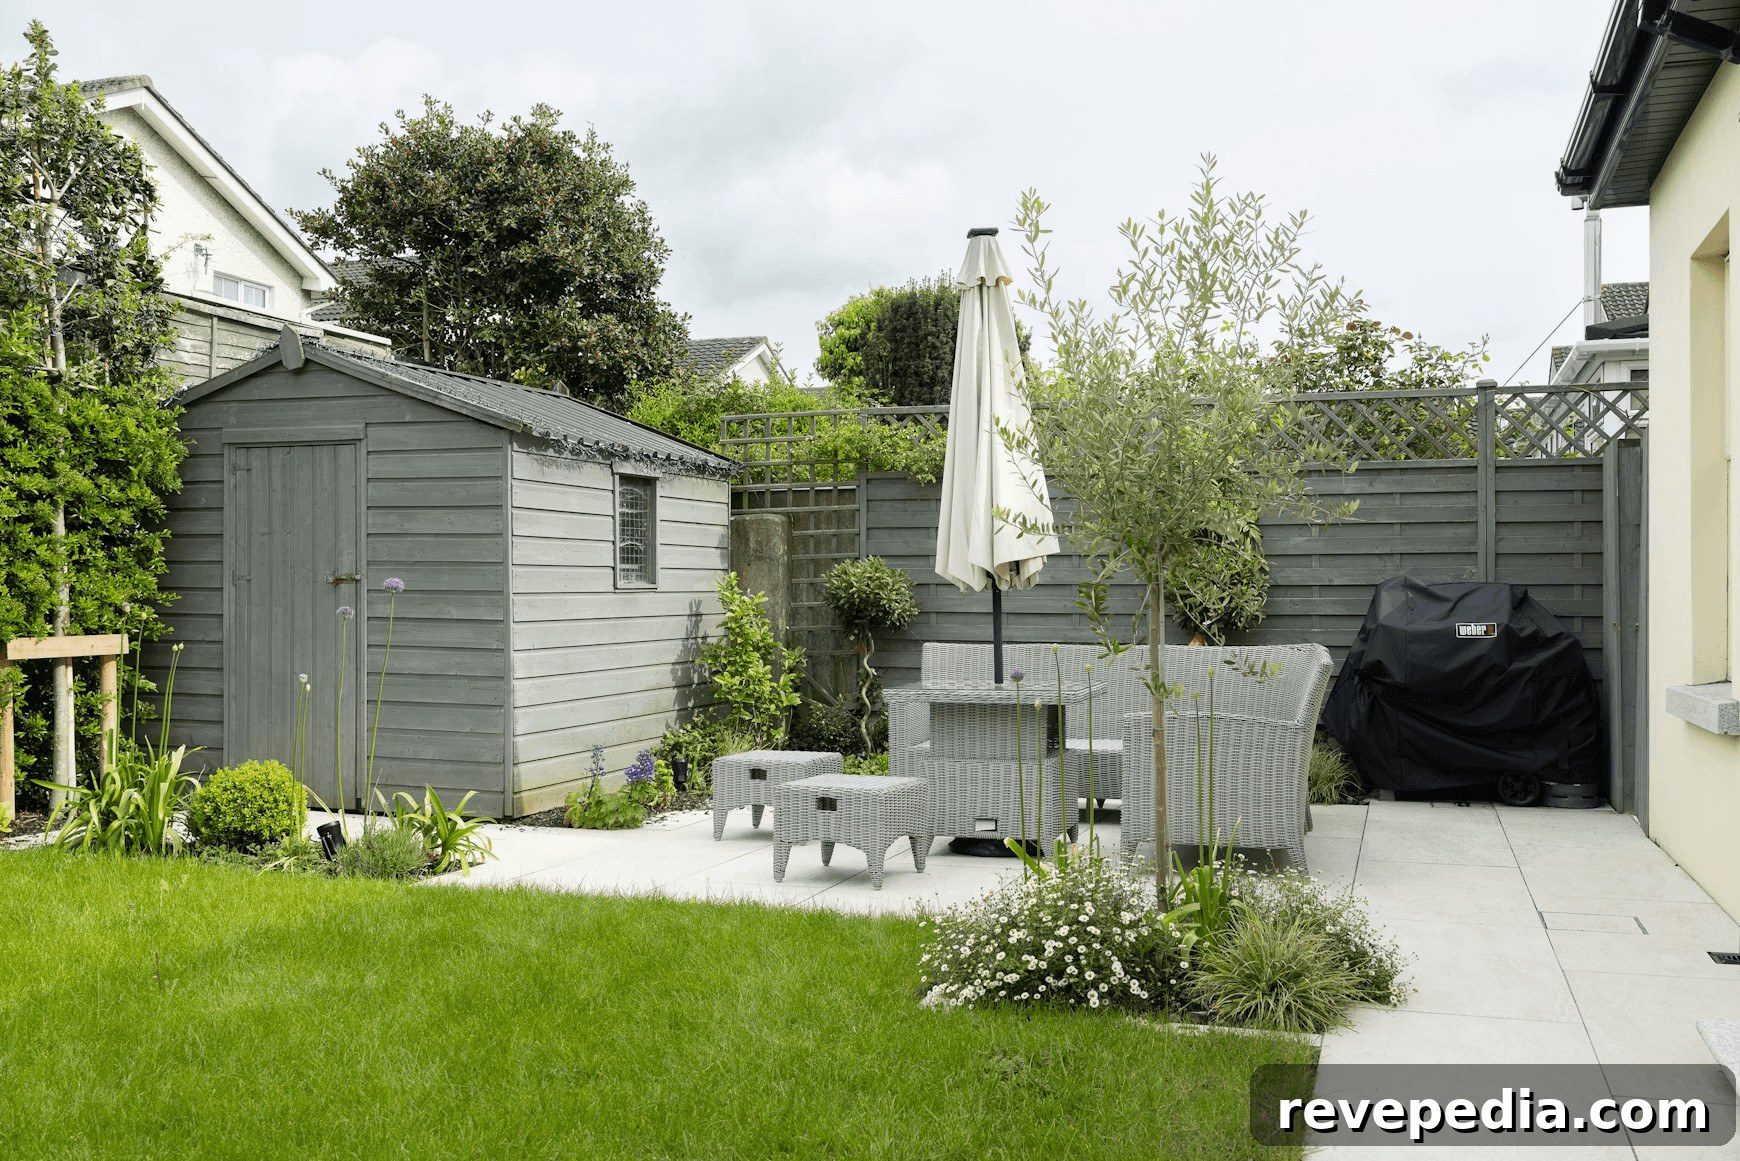
Imagine stepping out your back door with a cold drink as the sun slips toward the horizon. You sit on a tidy patio, plants lush and green, everything framed like a magazine photo. Then you glance around at your actual yard: a patch of weeds, a broken plastic chair, and a pile of dirt.
Deciding to tackle the transformation yourself to save money is a common and sensible choice. DIY landscaping can be rewarding and cost-effective, but without proper planning it quickly becomes expensive, time-consuming, and frustrating. Poor choices lead to repeated fixes, wasted purchases, and projects that don’t function as intended. Here’s a practical guide to planning your backyard DIY project like a pro, avoiding common design mistakes, and building a long-lasting outdoor space.
Start With a Plan, Not a Shovel
The most frequent error is beginning without a clear vision. Garden centers are full of tempting plants and decorative items, and it’s easy to buy things on impulse only to discover you have nowhere suitable to plant them. That’s how hundreds of dollars disappear in minutes.
Before purchasing mulch, plants, or hardscaping materials, create a simple plan. Observe where sun and shade fall throughout the day, note how water drains when it rains, and decide how you will actually use the space—dining, entertaining, play area, or quiet retreat. Sketch a layout or use a basic design tool to test ideas virtually; repositioning elements on a plan is far cheaper than moving real shrubs.
Respect Water and Drainage
Drainage is rarely glamorous, but it’s essential. Poor drainage turns patios and planting beds into soggy zones and can even threaten your home’s foundation. After a rainfall, walk the yard and mark where water pools or runs toward your house.
Address grading and surface water first. Level low spots, slope ground away from the foundation, and consider installing simple solutions like French drains or downspout extensions where needed. These foundation-protecting tasks are less exciting than planting, but they prevent costly repairs and make the rest of your design effective.
Right Plant, Right Place
Choosing the correct plant for its location avoids many future headaches. Plants sold in nursery pots often look small and manageable, but many will grow much larger than expected. Planting too close to walls, walkways, or other plants leads to crowding, root damage, and routine removal expenses.
Always check the plant tag for mature height and spread, and give each specimen room to reach those dimensions. Select species suited to your climate and light conditions—cold-hardy plants for winter regions, drought-tolerant varieties for dry climates—to reduce maintenance and irrigation needs.
Plan for Lighting
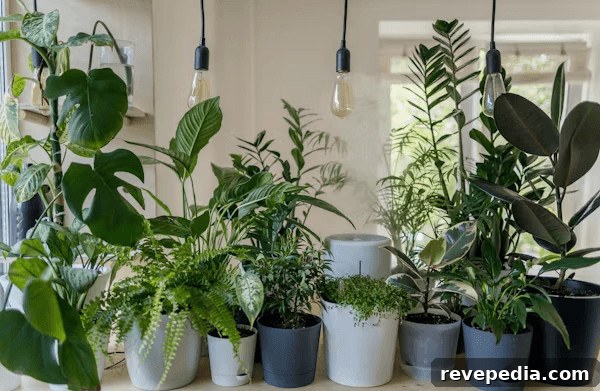
Outdoor spaces are used at night as much as during the day. Poor lighting limits usability and safety. While inexpensive solar stakes have their place for marking paths, they rarely provide the consistent illumination needed for evening dining or entertaining.
Plan electrical needs early in the project. When digging trenches for paths or irrigation, include conduit for lights and outlets. Running wiring at the same time as other groundwork avoids tearing up finished surfaces later. Thoughtful lighting adds ambiance and makes a modest project feel professionally finished.
Beware the Hidden Cost of “Cheap”
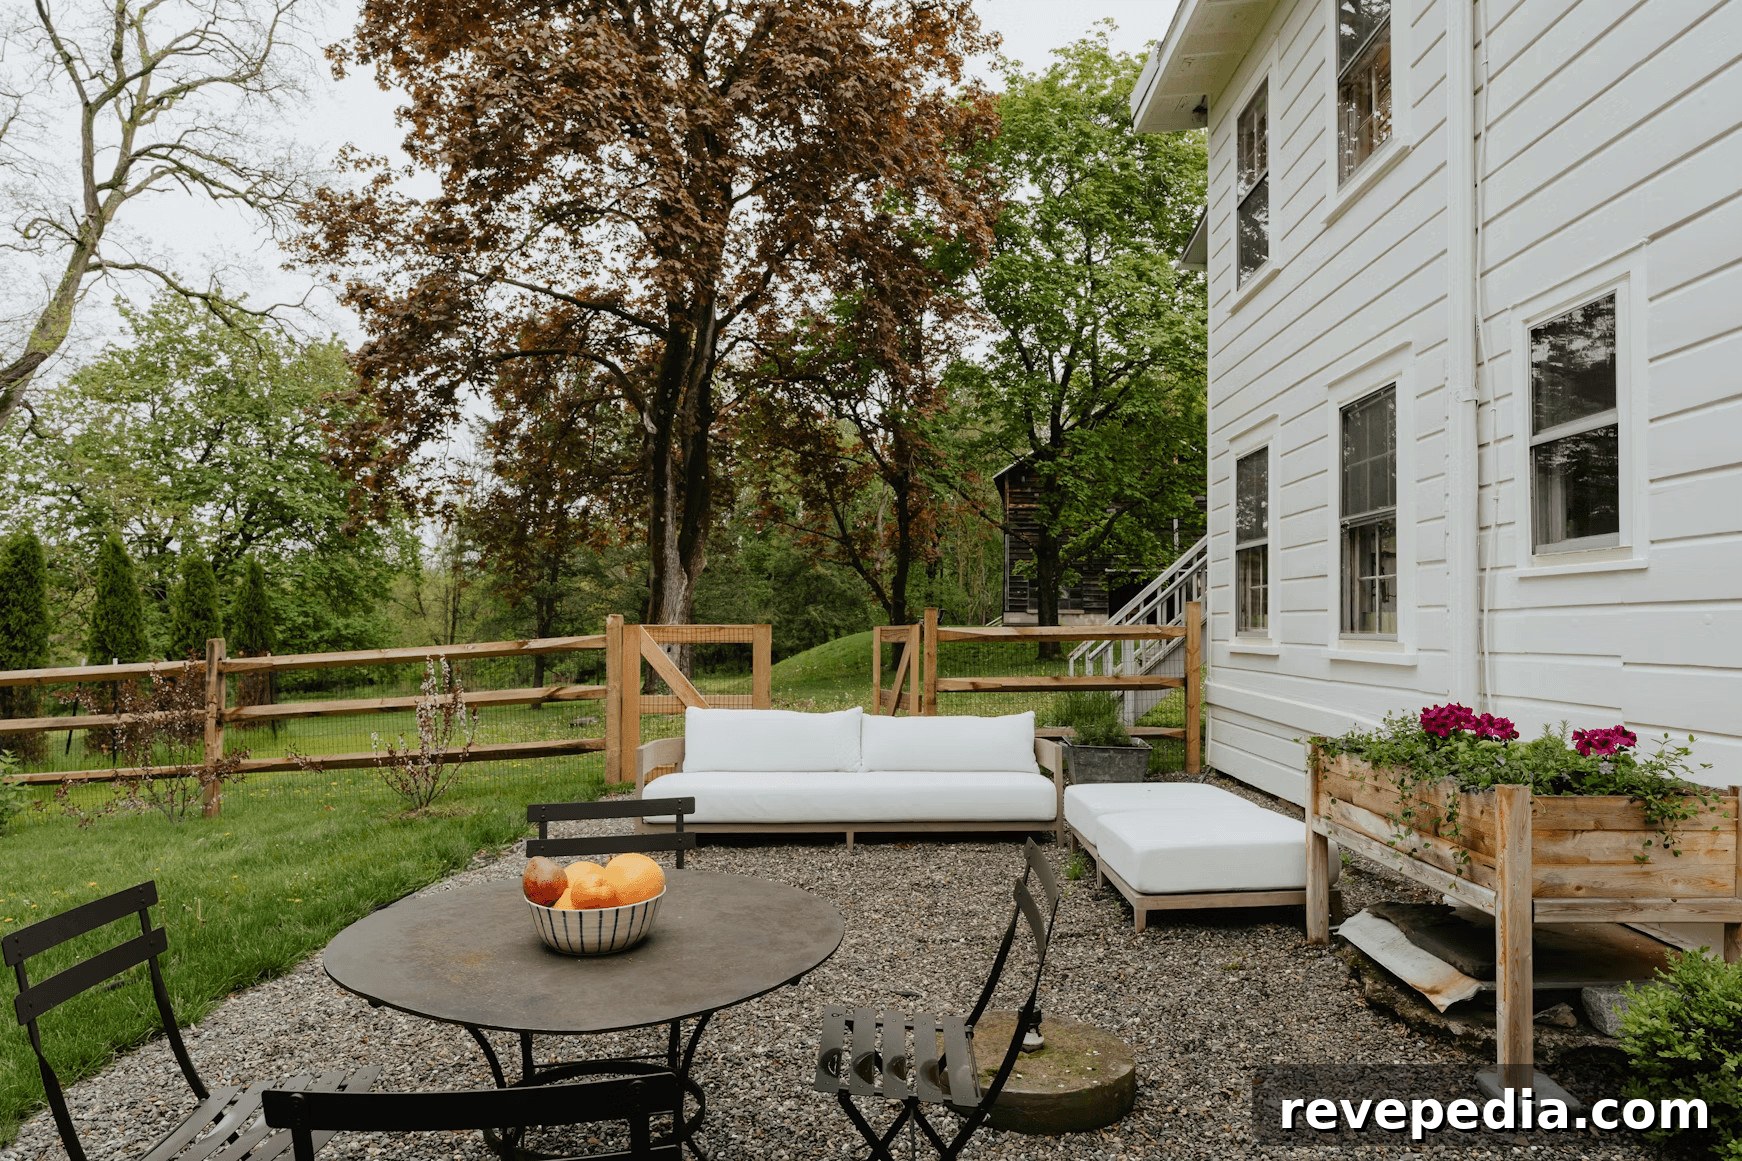
Saving money upfront by choosing the cheapest materials or tools often costs more long-term. For example, untreated pine used for decking deteriorates quickly, requiring replacement. Investing in pressure-treated wood or composite materials may cost more initially but provides durability and lower lifetime maintenance costs.
Similarly, buy reliable tools. A well-made shovel, pruner, or wheelbarrow will last for years and make work easier. Quality materials and tools reduce frustration and repeated expenses.
Design for Low Maintenance
Most homeowners have limited time to maintain elaborate gardens. High-maintenance features like extensive rose beds or formal hedges demand weekly attention. If you can’t commit time, choose low-maintenance options: mulch beds to suppress weeds, use native or drought-tolerant plants, and install drip irrigation on a timer to conserve water and reduce chores.
Get the Scale Right
Proportion and scale determine how comfortable a space feels. An oversized dining table on a small patio or a tiny seating group on a huge lawn looks awkward and limits usability. Before building, mark the proposed layout with chalk or stakes and place furniture within the outlined area to test movement and flow. Paths should be wide enough for two people to pass—about four feet is a good target—so they feel comfortable rather than cramped.
Invest in Soil Quality
Plants thrive in soil, not bare dirt. Many yards contain compacted clay, rock, or depleted soil that fails to support healthy root growth. Improve planting areas by mixing in quality compost and organic matter to boost nutrients, drainage, and structure. Healthy soil reduces the need for chemical intervention and supports stronger, longer-lasting plants.
Take Your Time
Rushing to finish everything in a single weekend is a common mistake. Prioritize the heavy, permanent work first—grading, drainage, hardscape, and major trees—then add shrubs, perennials, and seasonal decor. Phasing your project keeps costs manageable and lets you refine the design as it grows.
Final Thoughts
A well-planned DIY yard increases your home’s value and creates a relaxing outdoor living area. By starting with a clear plan, addressing drainage, choosing appropriate plants and materials, and designing for low maintenance and correct scale, you’ll build a durable, attractive landscape you’ll enjoy for years. Thoughtful choices now save money, time, and frustration later—so take the time to plan and enjoy the process.