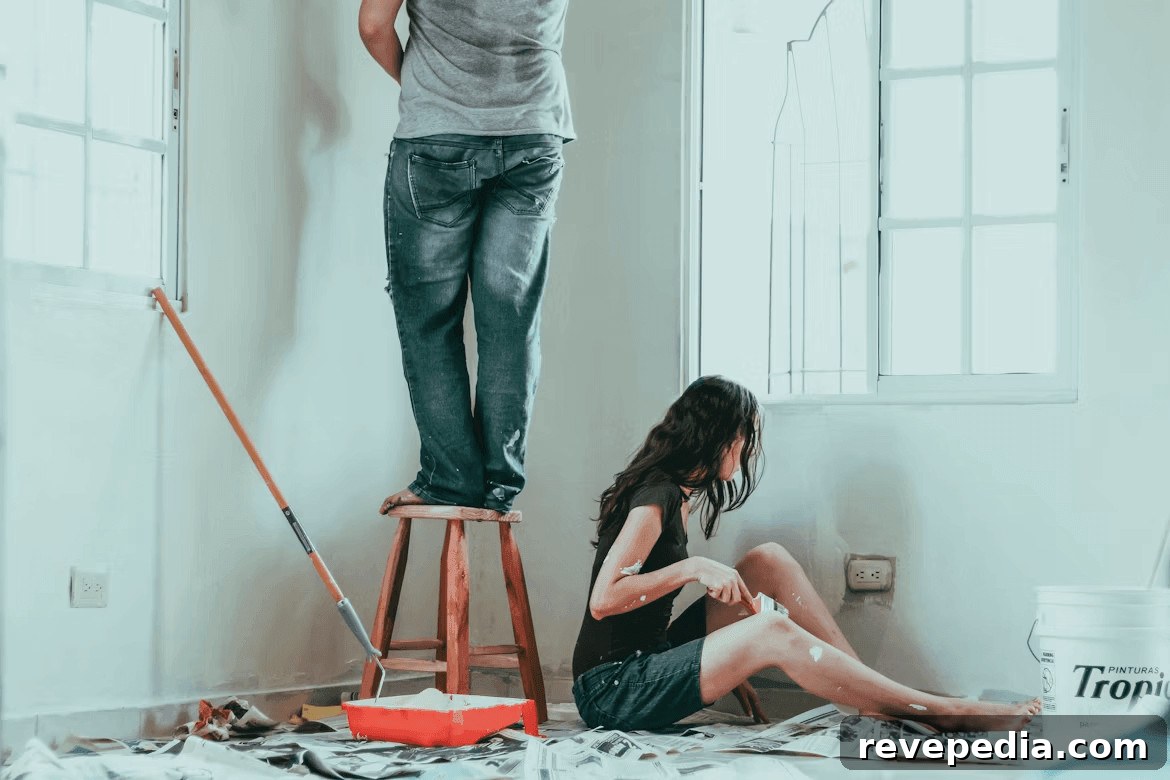
When you scroll through social media, it often seems like every DIY creator has a hidden production crew behind the scenes: the camera angles are perfect, the lighting is flattering, and the final reveal looks like a polished segment from a home-renovation show. Meanwhile, your footage can feel shaky, poorly lit, or captured in the pouring rain. The difference isn’t talent; it’s technique. Using tools that are available to anyone with a smartphone and an internet connection, this guide breaks down professional filming and editing practices that transform ordinary DIY documentation into videos people actually watch, share, and save.
Professional-looking DIY videos typically share three core qualities: consistent visuals, purposeful pacing, and clear audio. Pros maintain a stable color temperature across shots so the viewer’s eye doesn’t have to adjust. Their edits follow a clear narrative arc—setup, rising tension, and resolution—so each clip feels satisfying. And they ensure every voice, tool noise, and ambient sound is crisp and well-balanced to create an immersive experience. Until recently, achieving this required expensive gear and years of editing experience. Now, AI-driven creative tools automate many tedious aspects of production, freeing builders and DIYers to focus on craft while the software applies a cinematic finish.
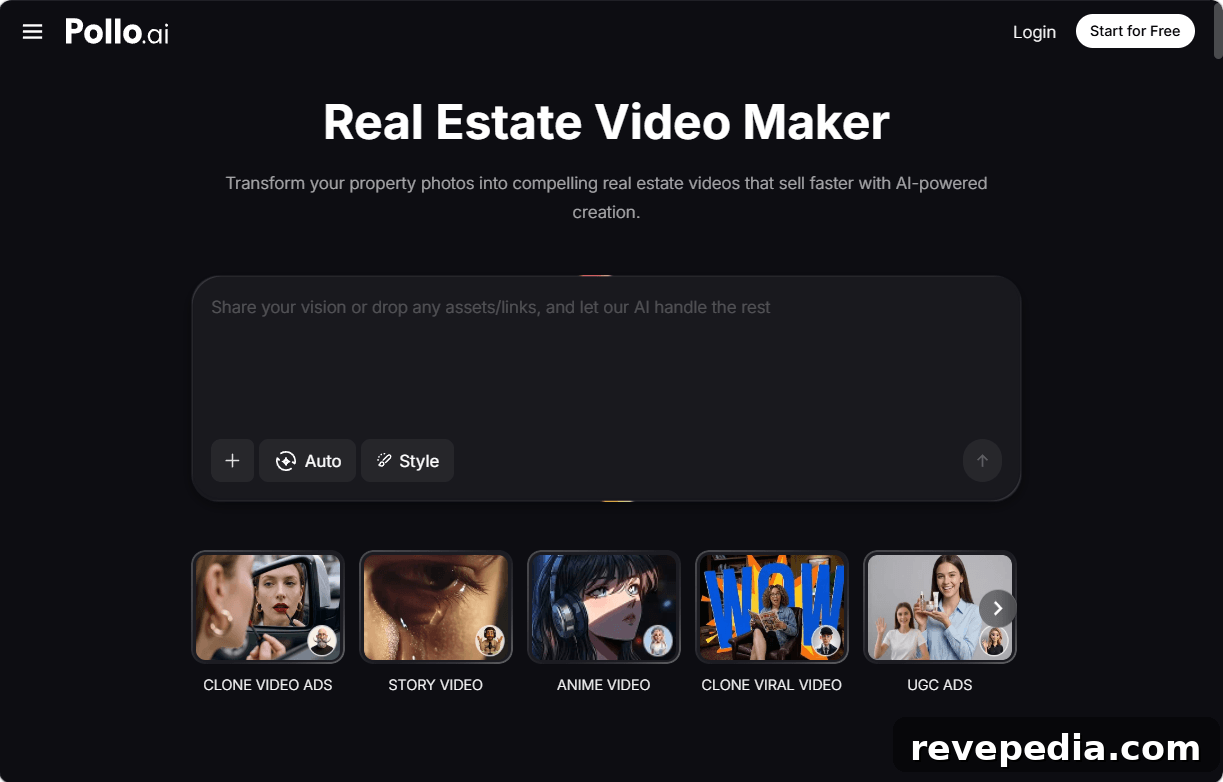
For example, AI-powered real-estate-style video makers can transform a set of finished-room photos into narrated, cinematic videos. Originally used by contractors and house flippers to market listings, these tools are equally useful for spotlighting completed DIY projects with production value that wins algorithmic reach and viewer trust.
What does it mean to be “Professional” at DIY?
Professional DIY content is not defined by expensive equipment but by intentional decisions. Visual consistency means matching color, exposure, and framing so cuts feel natural. Narrative pacing means structuring the project into a story with stakes and resolution. Audio clarity means minimizing background noise, recording clear voiceovers, and mixing sound so dialogue and key tool sounds are perceptible without distortion. These elements make videos feel reliable, trustworthy, and more likely to engage an audience.
Shooting Methods That Improve Your Films
Work with the Rule of Thirds
Rather than centering every subject, align important elements along an imaginary 3×3 grid. Place the edge of a freshly painted accent wall on a vertical line, or position hands at an intersection to make the composition feel balanced and intentional. This simple framing technique elevates ordinary footage into something visually compelling.
Use Movement with Purpose
Static shots have their place, but slow lateral slides or gentle forward moves add cinematic depth that fixed frames lack. If you don’t have a slider, improvise by resting your phone on a towel and pushing it smoothly across a countertop. For overhead workbench shots, mount your phone face-down on a shelf or use a clamp arm. Purposeful motion draws the viewer’s eye and boosts perceived production quality.
Capture the Five Essential Shots
Every professional renovation sequence is built from five shot types: an establishing wide that shows the whole space; a medium that frames you working; close-ups that highlight craftsmanship; point-of-view shots that let viewers see through your eyes; and a reveal or reaction that delivers emotional payoff. Capture all five for each major phase of your project to give yourself flexibility during editing.
How to Edit Like a Pro Without Paying for Professional Software
High-end non-linear editors offer powerful control but often come with steep learning curves and costs. For many DIY creators, AI-assisted platforms remove those barriers. All-in-one creative studios now combine video generation, image creation, audio production, and avatar tools in one place. You can import raw clips, generate background music that suits the project, create voiceover narration, and even produce thumbnail reference images without switching apps. Consolidating the workflow reduces friction and makes consistent video production much more achievable.
Specialized tools that convert a sequence of photos into a cinematic showcase are especially useful for creators who prefer photographing the finished space. These tools can assemble images into a polished movie-like presentation with intelligent voiceovers that point out design highlights. The result is social-ready content, portfolio material, and promotional video in a fraction of the time manual editing would require.
Solving the Short-Clip Problem with Intelligent Extension
A common frustration is stopping a recording a beat too early on a perfect tracking shot. Reshooting often isn’t practical—natural light has changed, or the moment can’t be recreated exactly. AI-powered video extenders can solve this by analyzing your short clip and generating additional frames that continue the scene in matching color, motion, and spatial logic. These tools let you extend clips by a few seconds in different quality modes, producing footage that blends seamlessly into your timeline without complex export settings.
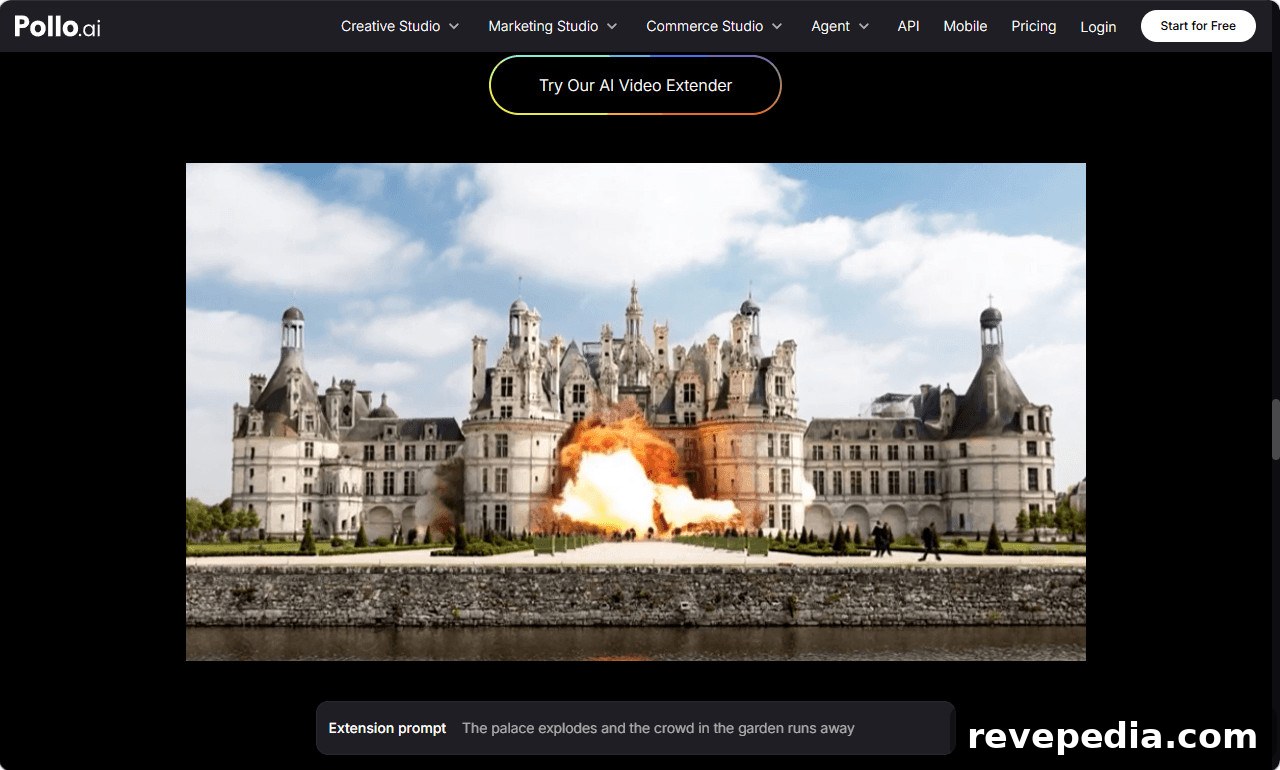
The practical benefit goes beyond convenience: knowing you can intelligently extend footage changes how you shoot. Instead of overshooting every moment, you can film with more confidence, trusting the extender to fill short gaps. This saves time, reduces wasted footage, and helps maintain consistent visual flow across a project.
Advanced Tips for Standing Out in a Crowded Niche
Tell Micro-Stories Within the Build
Break the overall renovation into smaller narrative arcs—each with its own conflict and resolution. Finding hidden water damage, selecting the right paint, or troubleshooting an installation all make excellent micro-stories. Short arcs keep viewers engaged and provide natural chapter points for ads, timestamps, or social clips.
Use Before-and-After Frames Strategically
Introduce a before-and-after comparison early—around the first third of the video—so viewers get an early payoff and are more likely to keep watching. Reserve the emotional, full reveal for the end to maximize impact.
Create Multiple Content Types from One Project
Plan a project’s output before you start filming: a long-form tutorial for YouTube, several short vertical clips for TikTok and Reels, a photo-based showcase video for portfolio use, and stills for blog posts. Knowing the angles and moments you need for each format saves time and ensures consistent messaging across platforms.
Conclusion
Producing professional-quality footage for home DIY projects relies more on deliberate technique than on expensive gear. Shoot with a clear narrative arc, capture the five essential shot types during each phase, and use AI-driven tools to streamline editing, voiceover, and visual extensions. These approaches close the gap between amateur footage and the polished content you admire—often with far less effort than you’d expect.