
Have you ever handed back the keys to a rental property feeling confident, only to receive a call weeks later about a bond deduction for something you thought was already clean? Final inspections catch many renters off guard, not because they were careless, but because the cleanliness and condition standards used by property managers are often stricter and more specific than most tenants expect.
Preparing a property properly for the final walkthrough is less about one frantic cleaning session and more about understanding the checklist inspectors use and working through it methodically. For renters in Melbourne, a careful, organised approach to the end-of-tenancy clean can prevent unnecessary disputes, protect your bond, and ensure the property is returned in the condition landlords expect.
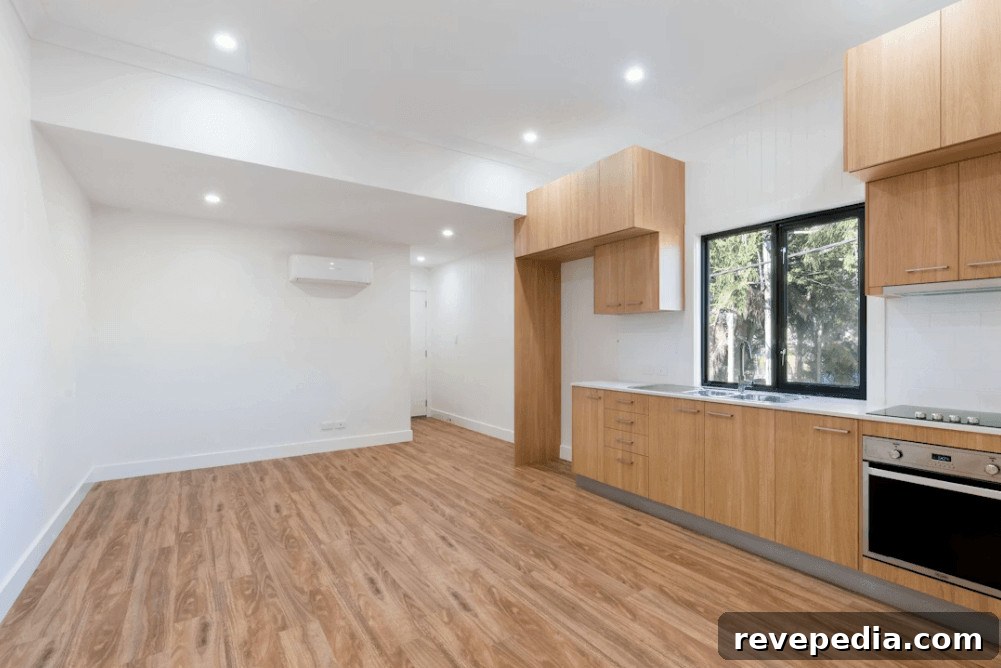
Understanding the Actual Standard You Need to Meet
There are two common misconceptions: some tenants think the property must look brand new, while others believe a quick surface clean is enough. The reality sits between those extremes. The legal and customary benchmark is that the property should be “reasonably clean” — free of marks, dirt, cobwebs, stains and dust — judged against community standards and the original condition report from when you moved in. You are not expected to return the property in better condition than at the start of your tenancy.
Knowing this standard reduces uncertainty. Inspectors compare the property’s current state to the entry condition report and to reasonable cleanliness expectations, not to a showroom finish. That means addressing obvious dirt and damage, but not replacing fixtures or restoring normal wear and tear that existed on move-in.
Prioritise the Areas Property Managers Check Most Closely
Certain parts of a rental property receive much closer scrutiny during a final inspection. Focusing on these areas first makes the cleaning process more efficient and increases the likelihood of a smooth bond return.
Pay special attention to:
- Kitchen appliances: Ovens, stovetops, rangehood filters and grills commonly show grease buildup. These areas are frequently cited in inspection reports.
- Bathrooms: Shower screens, grout, taps, drains and exhaust fans often reveal soap scum, limescale or mould. Thorough cleaning here is essential.
- Skirting boards and door frames: These surfaces attract dust and scuff marks that property managers notice immediately.
- Window tracks and sills: Dirt and debris collect in tracks and behind frames, areas that routine cleaning can miss.
- Corners and hard-to-reach spaces: Cobwebs, dust and accumulated grime tend to build up out of sight but are checked during an inspection.
- Floors and carpets: Ensure floors are swept, mopped or vacuumed, and carpets are free of stains and trapped debris. Deep-set stains may require professional treatment.
Tackling these high-attention areas first helps you create an inspection-ready finish and reduces the chance that an avoidable problem will be flagged during the final walkthrough.
Use a Room-by-Room Checklist Instead of Relying on Memory
Cleaning an entire property from memory almost always means something gets missed, especially when you’re under time pressure. A written, room-by-room checklist keeps the process organised and lowers the risk of overlooked details becoming bond deductions.
A comprehensive checklist should include wiping down all surfaces and the inside and outside of cupboards, cleaning windows and accessible window tracks, vacuuming and mopping every floor, dusting light fittings and skirting boards, and removing rubbish and leftover items. Work methodically through each room and tick items off as you complete them. This approach also helps you identify tasks that may actually require professional attention, such as stubborn carpet stains or ingrained bathroom mould, rather than attempting a DIY fix that won’t meet inspection standards.
Know When Professional Help Is Worthwhile
Some cleaning tasks are difficult to bring up to inspection standard without proper equipment and expertise. Heavy oven grease, deep carpet staining and bathroom mould embedded in grout are common examples where professional cleaners can make a meaningful difference.
End-of-tenancy cleaning services specialise in the exact areas property managers inspect most closely. Hiring a specialist can be a cost-effective choice when a DIY clean is unlikely to reach the required standard or when time is limited. Professionals typically follow a detailed checklist that covers kitchens, bathrooms, window tracks, skirting boards and other high-attention zones, offering greater confidence the property will pass the final inspection.
The Best Timing for Your Final Clean
Timing matters. Clean too early and dust and marks can resettle before the inspection; leave cleaning to the last minute and you won’t have time to rectify missed areas. A clean completed one to two days before the scheduled inspection—after all furniture and personal items are removed—usually strikes the right balance.
If you plan to use a professional service, book once the property is emptied so every surface can be accessed, including areas normally hidden by furniture. This ensures a thorough clean and reduces the chance of follow-up issues.
Final Thoughts
Preparing a rental property for a final inspection comes down to understanding the expected standard, concentrating on the areas that attract the most scrutiny, and working methodically with a room-by-room approach. Knowing which tasks you can realistically handle yourself and which are best left to professionals can be the difference between a smooth bond return and an unexpected deduction. With sensible planning and attention to the right details, the final inspection can feel like a formality rather than a source of stress.