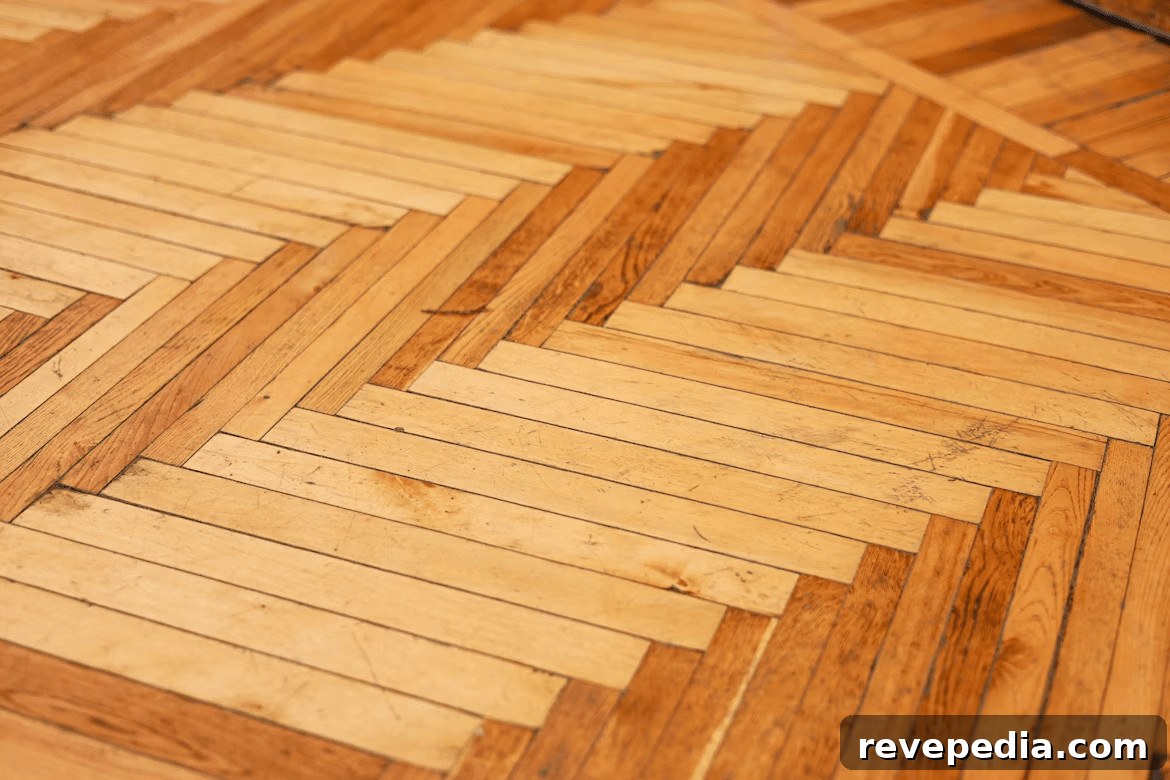
Upgrading the floors in your home is one of the most effective ways to refresh its appearance and improve comfort. Floors are both practical and aesthetic: they endure daily wear while setting the tone for each room. If you’re tired of worn carpet, faded tiles, or an outdated surface, replacing your floors can breathe new life into your living spaces. A thoughtfully chosen floor not only elevates the style of your home but can also increase durability, ease of maintenance, and even property value.
New flooring creates the visual foundation for your décor, influencing everything from lighting choices to furniture style. The right floor can convey warmth and sophistication or a relaxed, modern vibe. When planning a floor replacement, consider material, texture, color, and performance—especially resistance to moisture, scratches, and daily traffic. Match your selection to the function of each room and to your lifestyle so you enjoy both beauty and practicality for years to come.
Ready to transform your home? Below is a guide through popular flooring types, how to prepare for replacement, what to expect during installation, and the finishing touches that make a remodel feel complete.
Flooring Types
When selecting new Markham flooring or flooring for any home, investigate the range of available materials and their benefits. Hardwood flooring remains a top choice for its timeless appearance and long lifespan. Properly maintained hardwood can last decades and can be sanded and refinished multiple times, bringing back its original beauty. The natural grain and color variations in solid wood create a unique, high-end look that suits living rooms, dining rooms, and bedrooms.
Laminate flooring offers the aesthetic of hardwood or stone at a lower cost and with increased resistance to scratches and everyday wear. Modern laminate products replicate natural textures well and are often available in click-lock formats that make installation straightforward for DIYers. Laminate is a practical choice for busy households where value and durability matter.
Vinyl flooring has evolved into a highly versatile option, available in planks, tiles, or sheets. Luxury vinyl plank (LVP) and luxury vinyl tile (LVT) closely mimic wood and stone while offering excellent water resistance, making them ideal for kitchens, bathrooms, and basements. Vinyl’s wide variety of finishes and realistic textures allow homeowners to achieve premium looks without the premium price or maintenance needs of some natural materials.
Ceramic or porcelain tile remains an excellent choice for wet areas and high-traffic zones. Tiles are tough, hygienic, and available in countless sizes, colors, and patterns. For spaces that need durability and easy cleaning, tile delivers both performance and design flexibility. Each flooring type has trade-offs in cost, installation complexity, and maintenance—so weigh these factors for each room in your home.
Preparing for Replacement
Careful preparation before installation helps avoid delays and ensures a lasting result. Start by clearing the space of furniture, area rugs, and decorations. Remove baseboards and trim where necessary so the new flooring can fit neatly beneath or up to the edge depending on your finish method. Inspect the subfloor for damage, unevenness, or moisture issues; addressing these problems before installing new material prevents future failures such as squeaks, gaps, or warping.
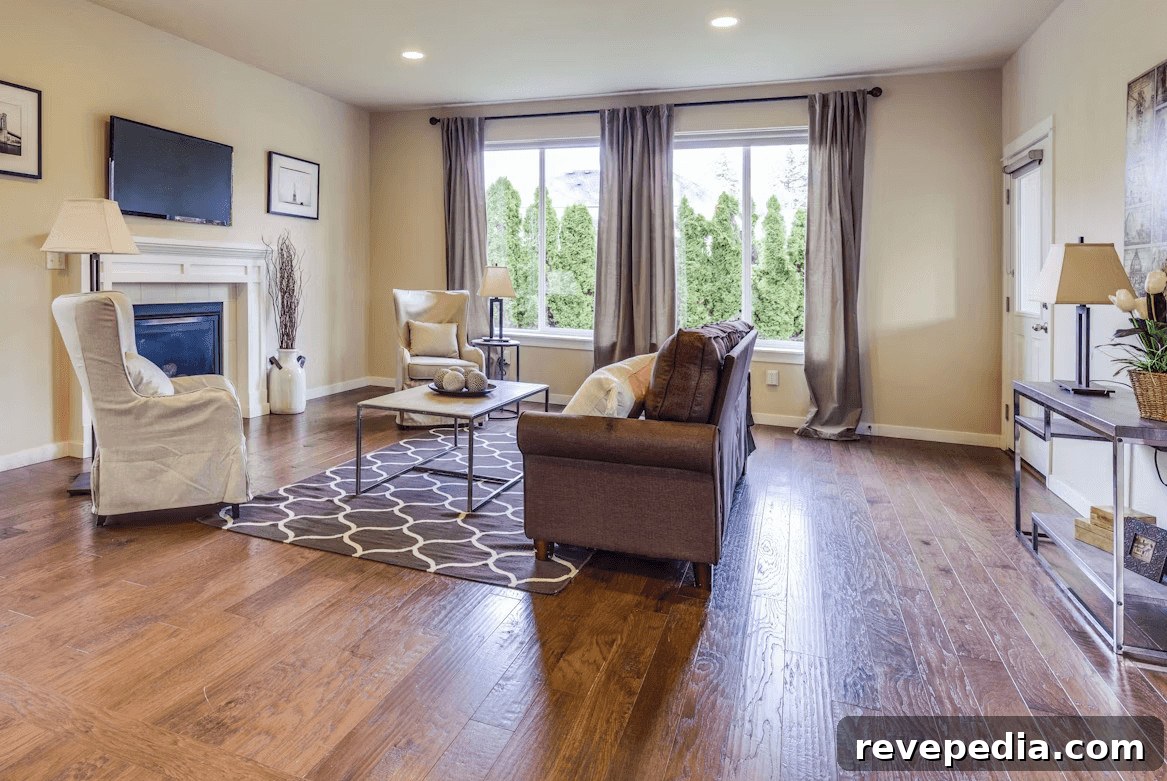
Accurate measurements are essential. Measure the length and width of each room and calculate square footage to determine the amount of flooring you’ll need. Always purchase extra material—typically 5–10% more—for cutting waste, pattern matching, and future repairs. Order samples and view them in your home’s natural and artificial light to confirm color and texture, since lighting can significantly alter the appearance of a material.
The Installation Process
Installation methods vary by material. Floating floors, such as many laminate and vinyl plank systems, use a click-and-lock system that makes them faster and easier to install, often suitable for skilled DIYers. These systems float over an underlayment that provides sound reduction and minor subfloor leveling. For glued or nailed hardwood and tile installations, consider hiring a professional installer. Professionals have the tools, experience, and techniques required for precise cuts, proper adhesion, and consistent grout lines or seam alignments.
Before installation, acclimate wood and vinyl products in the room where they will be installed so they adjust to the home’s humidity and temperature. This step minimizes movement, such as expansion or contraction, after installation. Follow manufacturer guidelines for underlayment, adhesives, and acclimation time to ensure warranty compliance and optimal performance. Allow adequate drying or curing time for adhesives, grouts, or finishes before walking on new floors.
Finishing Touches
After the flooring is in place, reinstall or replace baseboards, trim, and transition strips to create a polished, finished appearance. Carefully selected trim color and profile can enhance the overall look—painted white trim offers a clean modern contrast to darker floors, while natural wood trim complements warm wood tones. Consider protective measures such as felt pads for furniture legs and area rugs in high-traffic zones to extend your floor’s life.
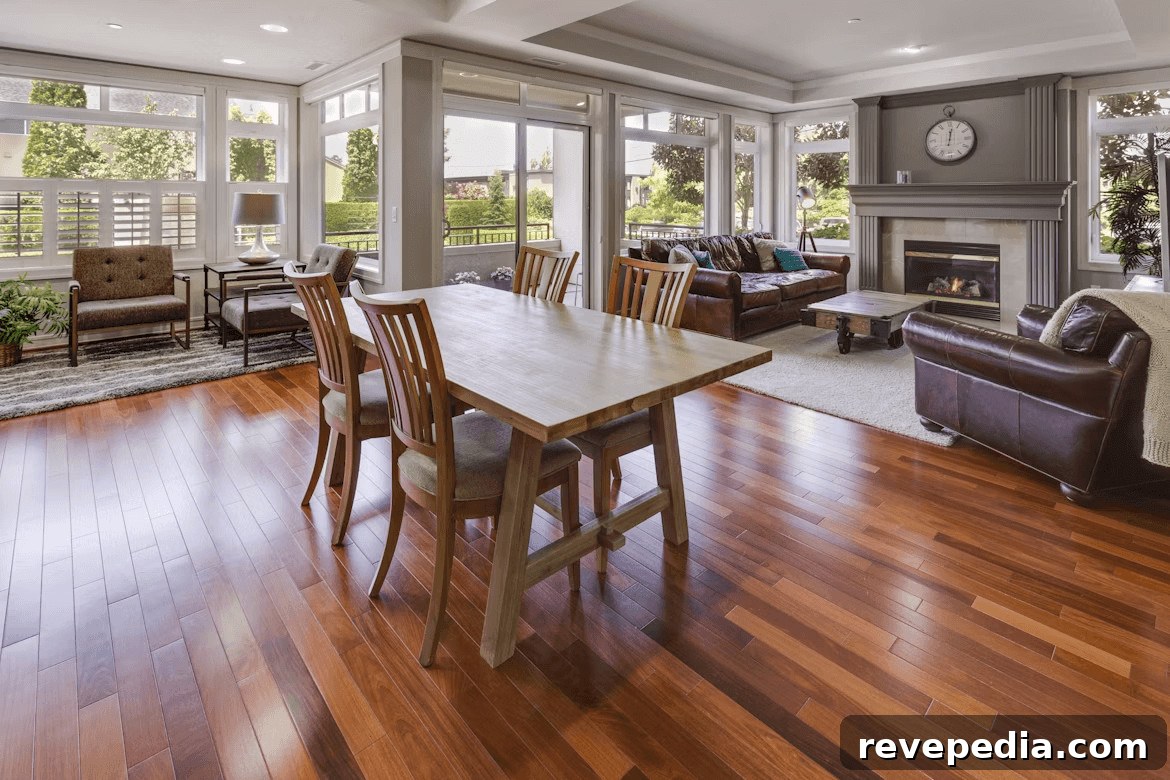
Use this opportunity to rethink furniture layout and décor to showcase your new flooring. A fresh floor can alter room proportions and color balance, so rearranging furniture or updating accents can further highlight the upgrade. With careful planning and quality installation, replacing your floors will transform the look and feel of your home—adding comfort, style, and long-term value. Enjoy your renewed space and the many benefits of a successful floor replacement project.