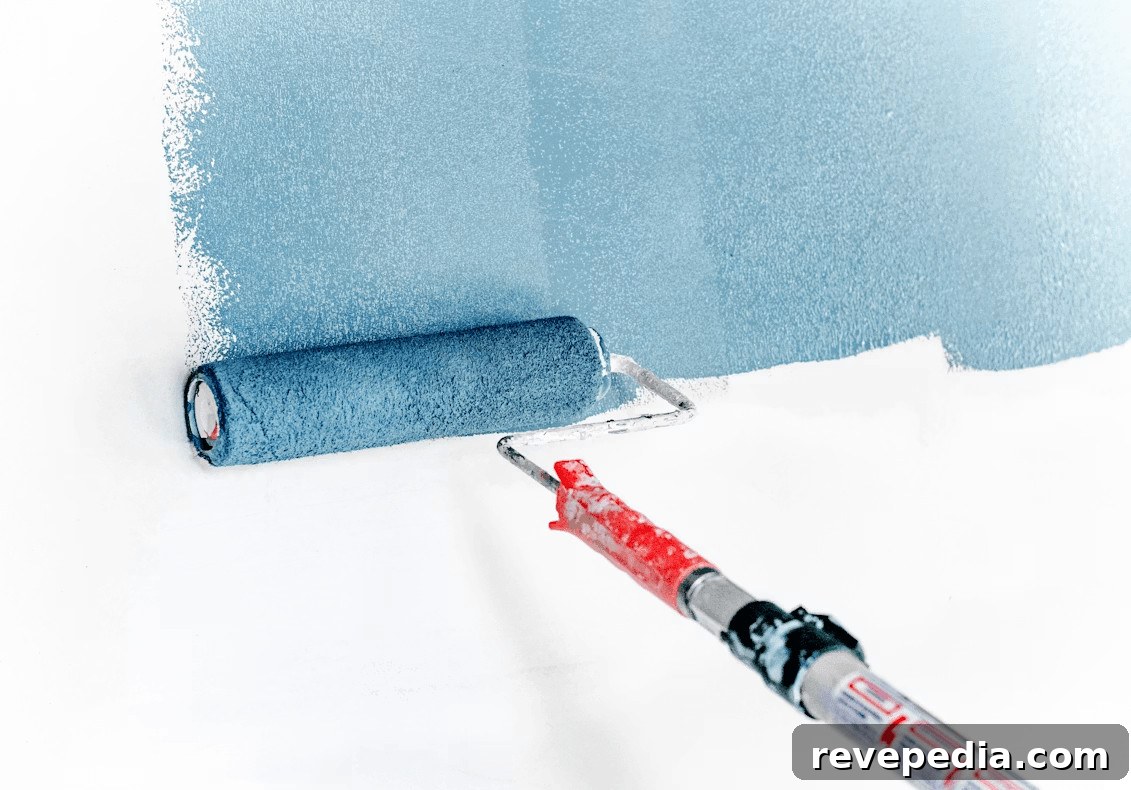
A fresh coat of exterior paint does more than boost curb appeal; it is your home’s primary defense against sun, rain, and temperature swings. Many homeowners rush straight to color selection and application, but a long-lasting finish begins long before the first brushstroke. Whether you plan a weekend DIY or hire professional painters, understanding proper surface preparation is essential for a durable, attractive result.
Thorough preparation gives the new paint a solid surface to bond to, preventing premature peeling and blistering. It also creates a uniform base so the final sheen looks even across walls and trim. You should also be aware of proper drying and recoat times—rushing through drying can ruin an otherwise perfect application. The following guide lays out the exact steps required to prepare your house for a finish that lasts.
Step 1: Thorough Inspection and Assessment
Begin with a close, methodical inspection of siding, trim, windows, and doors. Look for signs of coating failure: flaking, peeling, cracking, or bubbling. These areas must be removed and addressed before painting. Check for wood rot near ground level, behind gutters, and around trim; paint will not adhere to decayed wood, so damaged sections should be replaced or rebuilt and filled with exterior-grade epoxy filler.
Look for mildew and mold, typically appearing as dark gray or black spots on shaded elevations. Mildew must be killed and cleaned away before painting; painting over it allows spores to continue growing beneath the new finish and eventually force paint off. Also inspect caulking around windows and doors—deteriorated or missing caulk permits water intrusion that can cause structural damage and undermine new paint.
Document every problem area during your inspection. A thorough checklist helps you buy the right materials and prevents delays once repairs begin.
Step 2: Cleaning the Surface
Paint adheres best to a clean surface. Dirt, pollen, and grease block adhesion and create an uneven finish. For exterior siding, a pressure washer can speed cleaning, but use care: high pressure can gouge wood or force water behind cladding. Keep the wand moving, use a wide spray nozzle, and wash from the top down. A mild exterior detergent added to the washer helps lift stubborn grime.
Delicate trim and interior walls are better cleaned by hand with warm water and a heavy-duty cleaner such as trisodium phosphate (TSP). Rinse thoroughly—any cleaner residue can act as a barrier to paint. Let all surfaces dry completely before proceeding; painting damp wood traps moisture, which leads to blisters as the surface heats and dries. Depending on humidity and weather, siding may require several dry days before priming.
Step 3: Scraping and Sanding
After cleaning and drying, remove failing paint by scraping and sanding. Use a sharp, stiff-bladed scraper to take off loose or blistered paint, working until you reach solidly adhered layers or bare substrate. Be careful not to gouge healthy wood. Feather the edges of remaining paint with sandpaper—start with an 80-grit to knock down hard edges, then finish with 120-grit for a smooth transition.
Sanding also dulls glossy finishes so the new paint can grip. If your home was built before 1978, test for lead paint and follow safety protocols or hire a certified abatement contractor if lead is present.
Step 4: Repairing and Patching
Repair damaged substrate before priming. For exterior wood siding and trim, use a high-quality epoxy wood filler for gouges, splits, and holes; epoxy tolerates exterior temperature changes and flexing better than ordinary putty. Apply the filler slightly proud of the surface to allow for shrinkage, then sand flush after it cures.
For interior drywall, use lightweight joint compound or spackle for small holes and dents. Larger holes require a patch kit or fiberglass mesh tape to reinforce the repair. Sand patches smooth—imperfect repairs show through paint when light hits the wall.
Step 5: Caulking and Sealing
Seal joints where different materials meet—around windows, door frames, and where trim abuts siding. Proper caulking prevents wind-driven rain from entering wall assemblies and stops drafts. Choose a premium acrylic-latex or paintable polyurethane exterior caulk; avoid pure silicone on surfaces you intend to paint, as paint will not adhere to it.
Apply a steady bead, then tool it smooth with a damp finger or a profiling tool to press caulk into the gap and create a neat surface. Wipe away excess before it skins over. Allow caulk to fully cure per manufacturer instructions before priming or painting to avoid cracking and finish failure.

Step 6: Taping and Protecting
Mask and protect areas you do not want painted. Use high-quality painter’s tape on glass and hardware rather than standard masking tape, which can leave residue or strip finishes. Press tape edges down firmly to prevent bleed-through. Cover floors and furniture with canvas drop cloths that absorb splatters; use plastic sheeting for landscaping and equipment, but avoid covering live plants for extended periods.
Remove tape while the final coat is still slightly tacky to avoid pulling chunks of paint off the surface.
Step 7: Applying the Primer
Primer is the final step before color. It seals porous substrates so topcoat sheen and coverage are consistent, blocks stains and wood tannins from bleeding through, and promotes chemical adhesion between the substrate and topcoat. Spot-prime bare wood and patched areas when existing paint is in good condition and color change is minimal. For drastic color changes, painting over glossy surfaces, or new bare wood—especially cedar or redwood—apply a full coat of the appropriate stain-blocking exterior primer.
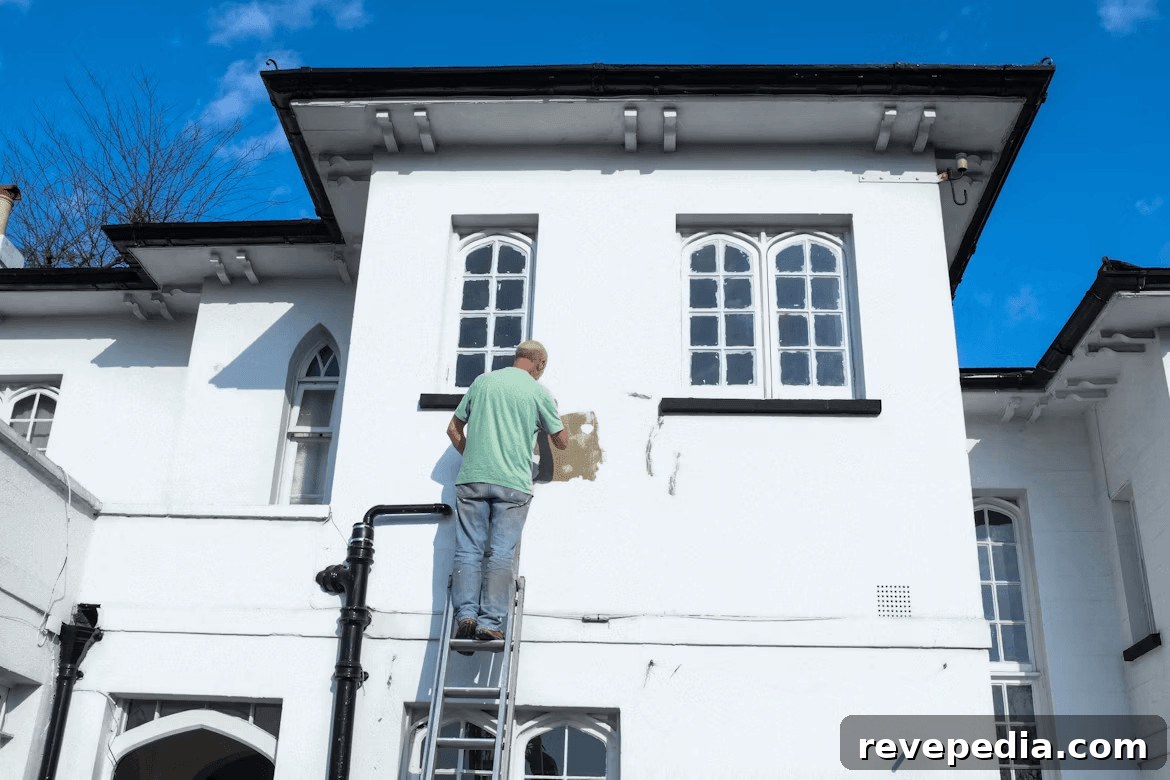
Follow the primer label for recommended application and recoat windows. Proper priming ensures your topcoat performs as intended and extends the life of the finish.
Conclusion
Preparing a house for paint requires patience, attention to detail, and effort, but the results are worth it. Skipping scraping, sanding, or proper repairs may save time initially but leads to accelerated failure of the finish. A surface that is clean, dry, repaired, sealed, and properly primed gives the topcoat the best chance to resist peeling, cracking, and fading. Invest the time in preparation and you’ll achieve a professional-looking, long-lasting exterior finish.