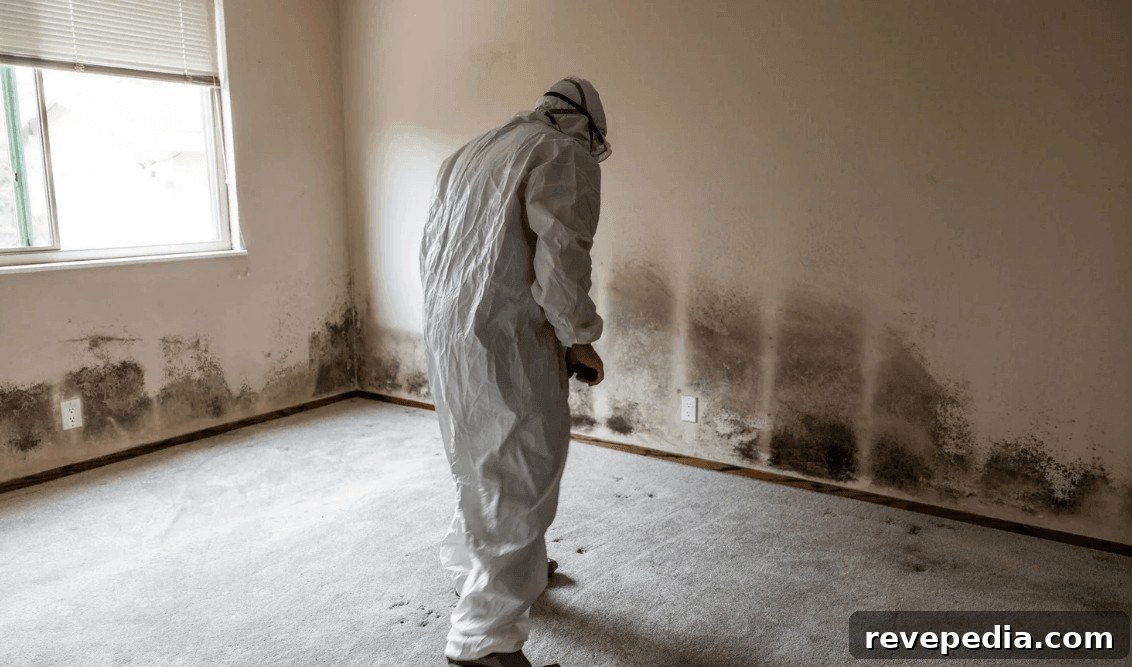
Anyone who has taped off a room before sanding already understands the basic principle of professional mold work: control where the dust goes before you create any dust. The order of operations is the craft—contain first, then remove.
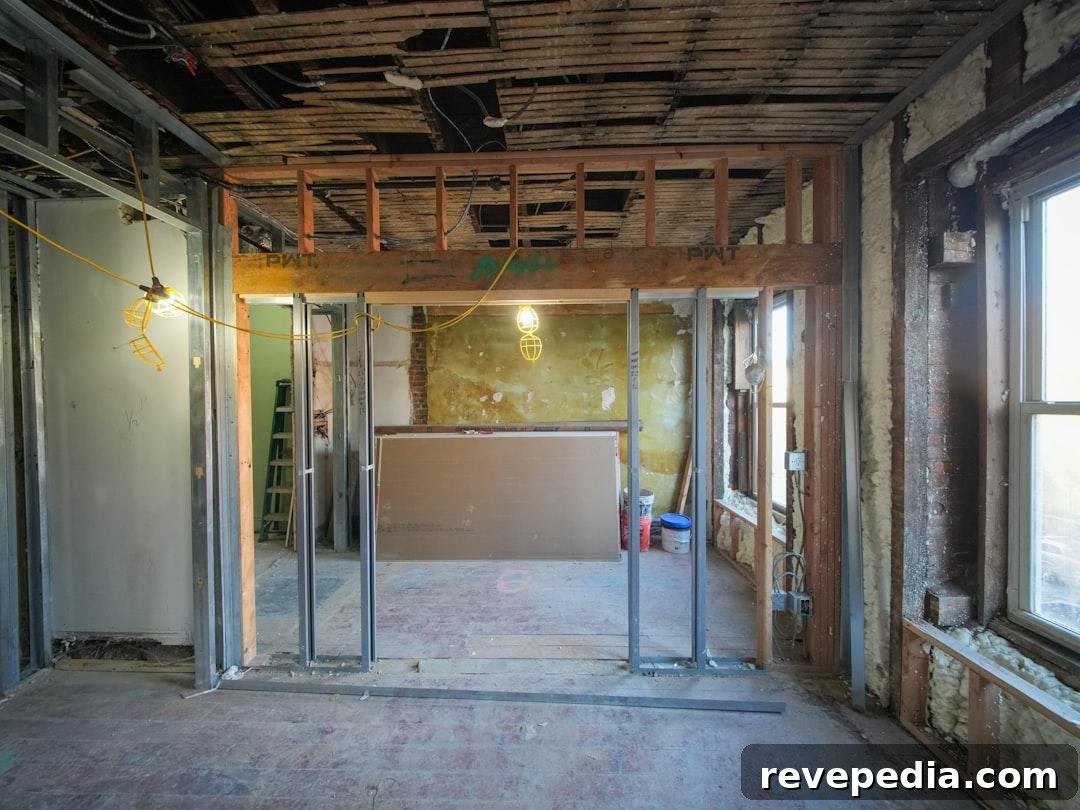
Photo by Olek Buzunov on Unsplash
Mold remediation leaves little room for shortcuts. Disturbing contaminated materials without proper containment can spread spores throughout the home, so establishing an effective barrier is a key step before removing damaged walls, insulation, or other components.
When comparing contractor bids, examine how each firm plans to handle containment and filtration. Those details reveal the actual scope of work far better than a low-dollar estimate. A professional proposal will outline containment, air handling, removal limits, drying, and final verification rather than relying on broad statements.
Why Seal the Work Area First?
Containment creates a physical separation between the work zone and the rest of the house. The specific setup varies with project size but typically includes:
- 6-mil polyethylene sheeting taped to walls, ceiling, and floor for a single room.
- A zippered or overlapping flap where a doorway once stood to allow entry and exit without breaking the seal.
- A separate entry or decontamination chamber on larger jobs so workers can change out of dirty gear.
- Supply and return vents inside the zone covered and taped closed to prevent airflow into the house’s ductwork.
The containment serves two main functions: it prevents settled dust from being tracked or blown into clean areas, and it gives the air control equipment a defined volume to treat. Covered vents are especially important because an open return can pull contaminated air directly into the building’s HVAC system. Without barriers, dust and spores travel much farther than most people expect.
What Do Negative Air and HEPA Filtration Do?
Negative pressure and HEPA filtration address different but complementary problems. Negative air controls airflow direction; HEPA filtration controls particle removal.
A negative air machine exhausts air from the sealed zone to the outdoors so the enclosure sits at a lower pressure than the surrounding house. With negative pressure, any leaks pull air inward instead of pushing contaminated air out into living spaces. Best-practice guidance for larger buildings typically targets a slight negative pressure—often measured in fractions of an inch of water column—and several air changes per hour, ensuring consistent inward airflow.
The HEPA filter cleans the exhausted air. A true HEPA filter captures 99.97% of particles at 0.3 microns, which includes mold spores. Tools used inside the zone—vacuums, for example—should also be HEPA-rated, because non-HEPA vacuums will simply redistribute what they pick up.
Why Cut Back Beyond the Visible Growth?
The visible stain on drywall or other materials is usually a lagging indicator. Mold spreads through paper facings and gypsum faster than it surfaces, so the visible edge often underrepresents how far the colony has advanced. Cutting exactly along the visible stain risks leaving live material behind.
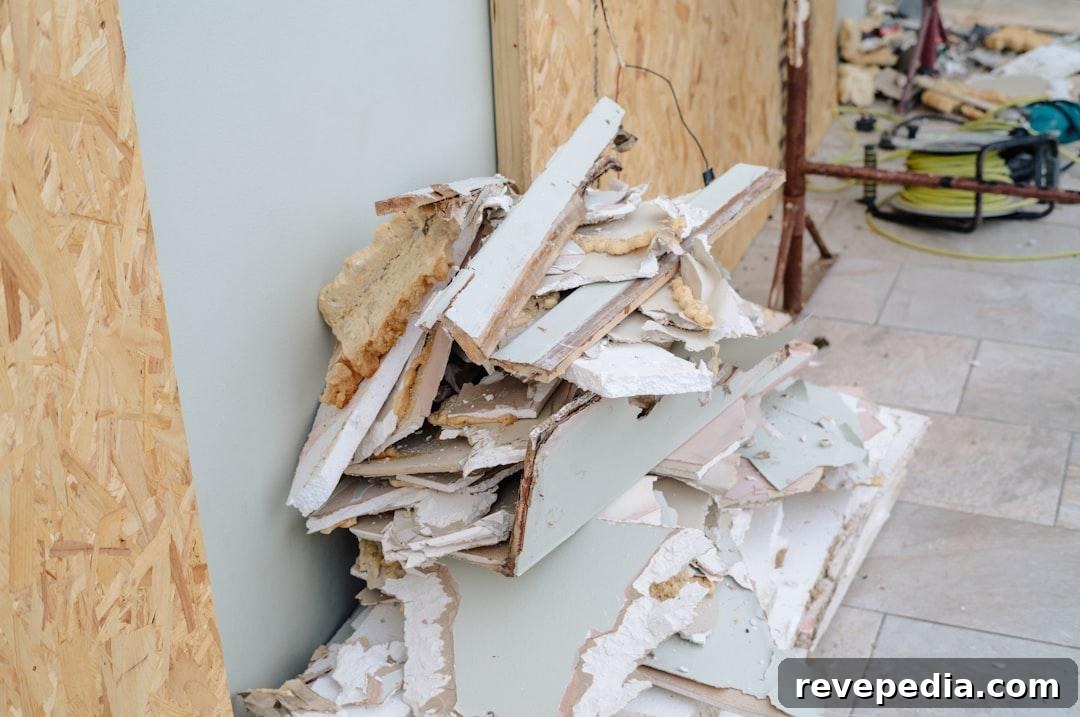
Photo by Annie Spratt on Unsplash
Typical practice is to remove 12 to 24 inches beyond visible growth, then square the opening to the nearest framing member so replacement boards have solid backing. Insulation is usually removed in full; batts are pulled out rather than trimmed. Moisture readings, not sight alone, should determine the cut-back. Technicians use moisture meters to map where the wet zone ends and then cut to that line. Reinstalling drywall and finishing the repaired area are generally straightforward carpentry and finishing tasks once the source of moisture has been resolved and materials are dry.
How Is Contaminated Material Removed from the Home?
Debris is sealed and removed by the shortest practical route to avoid crossing clean spaces. Waste is placed into heavy poly bags while still inside the containment. The outside of each bag is then wiped or HEPA-vacuumed before it crosses the barrier; allowing a filled bag to sit in a hallway defeats the enclosure entirely.
Large pieces of material are often wrapped with polyethylene and taped rather than simply bagged, and crews typically use an exterior door when available to avoid carrying debris through living areas and stairways. After removal, the work zone receives a careful HEPA vacuuming, damp wiping, and another vacuum once surfaces dry to reduce residual dust.
Why Drying Comes Before Rebuilding
Rebuilding on damp framing or behind wet wallboard often results in a repeat remediation. Mold spores are ubiquitous; moisture is the deciding factor for whether they establish and grow. Closing up a cavity that remains wet is essentially paying to delay the next mold event.
Addressing the source of moisture is more important than running air movers. If a flashing detail, a missing vapor barrier, or a leaking supply line remains unrepaired, the cavity will re-wet regardless of how many fans are used. A responsible scope of work identifies the moisture source and allocates responsibility for its repair.
Expect objective moisture readings rather than subjective opinions. Professionals measure affected framing and compare it to adjacent undamaged material, rebuilding only once readings fall within acceptable limits. Typical drying times run three to five days but can be longer for masonry or plaster assemblies.
How to Read a Scope of Work
A clear written scope defines the job boundaries before work begins. Where jurisdictions license mold remediators, protocols written by independent assessors are often required, and some areas separate assessment from remediation to avoid conflicts of interest. Even where no license exists, treating assessment and remediation as separate services is a useful safeguard.
Look for numerical specifics rather than vague descriptors. A complete scope should state at least five items clearly:
- The affected area in square feet.
- The containment method and the exact location of barrier lines.
- The cut-back distance beyond visible growth.
- The number and placement of air machines and where they exhaust.
- The clearance testing method and the criteria that will close the job.
Comparing bids becomes much easier when each includes those elements, and it helps you weigh larger firms against smaller operations on an apples-to-apples basis.
What to Check Before Signing a Remediation Contract
- Whether the assessor and the remediator are independent of one another.
- Who is responsible for fixing the moisture source and whether that repair is included in the price.
- How contaminated material will be carried out of the home without crossing clean areas.
- What the procedure is if clearance testing fails the first time.
- Who is responsible for rebuilding once removal and drying are complete.
Distinguishing True Remediation from Quick Fixes
A crew that sprays a biocide over a stained wall and leaves has treated the surface appearance, not the building. Proper remediation names a containment boundary, removes material beyond the visible edge, dries the cavity, repairs the water source, and verifies the result with independent testing. Skipping the removal and drying steps is effectively cosmetic treatment, not remediation.
FAQ
How Long Should a Typical Remediation Take?
A single-room remediation commonly takes two to five days, with drying adding additional time. Containment setup and teardown account for a larger portion of labor than many homeowners expect. A one-day quote for a wall-sized area is often a sign that proper removal and drying are being omitted.
Do I Need to Leave the House During the Work?
Often you can stay in the home if containment is properly constructed and the affected area is limited. However, households with asthma sufferers, infants, or immune-compromised occupants are usually advised to relocate during active remediation. Ask for a written recommendation tied to the scope.
What Is Post-Remediation Clearance Testing?
Clearance testing is an independent verification that the work zone meets the agreed standard before containment is removed. It typically includes visual inspection, moisture verification, and air sampling. Clearance only has value when the tester is independent of the crew that performed the remediation.
Is Fogging or Spraying a Substitute for Removal?
No. Coatings, disinfectants, and biocides are finishing steps rather than solutions. Surface treatments cannot reach colonies living inside gypsum, wood framing, or insulation. Proper removal of contaminated materials is the necessary step to resolve an active mold problem.