



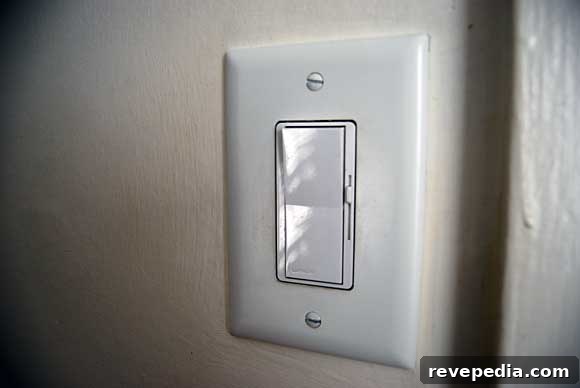
Dimmers reduce the amount of electricity your lights use when set below full brightness, which over time lowers energy consumption and can reduce your electric bill.
Replacing an existing light switch with a dimmer is a straightforward job many homeowners can handle. Follow the steps below—especially Step 1—to ensure a safe, clean installation. Dimmers are available at hardware stores in a variety of styles and price ranges. Read the installation instructions and match the dimmer type to your wiring before you buy.
STEP 1: Locate and turn off the fuse or circuit breaker that controls the light switch you are replacing.
If the breakers or fuses aren’t labeled, identify the correct one by turning the switch on and then turning off breakers or fuses one at a time. When the light goes off, that’s the correct circuit—leave it off while you work and make sure the others are on. Note: if you accidentally reset other breakers, check digital clocks or appliances that might need reprogramming.
STEP 2: Remove the wall plate and pull the switch from the wall.
Remove the two screws holding the cover plate, then remove the screws that secure the switch to the electrical box. Gently pull the switch out so you can access the wire terminals and the wires inside the box.
John Deere Greeneville Showcases Their Latest Machinery

At the John Deere plant in Greeneville, Tennessee, a new lawn tractor rolls off the assembly line every 25 seconds. That pace reflects the plant’s precise processes and efficient team. This was our third visit to a John Deere factory—we previously toured the plants in August, Georgia and Horicon, Wisconsin—and each visit confirmed how consistently … Read more